This article explains what to do after Defend completes a successful health check to complete your organization setup. This includes reviewing your results, tuning detection settings, configuring allow and deny lists, setting up notifications, and choosing initial deployment settings.
Prerequisites
Before you begin, confirm that your health check has completed successfully. To do this, follow the steps below:
-
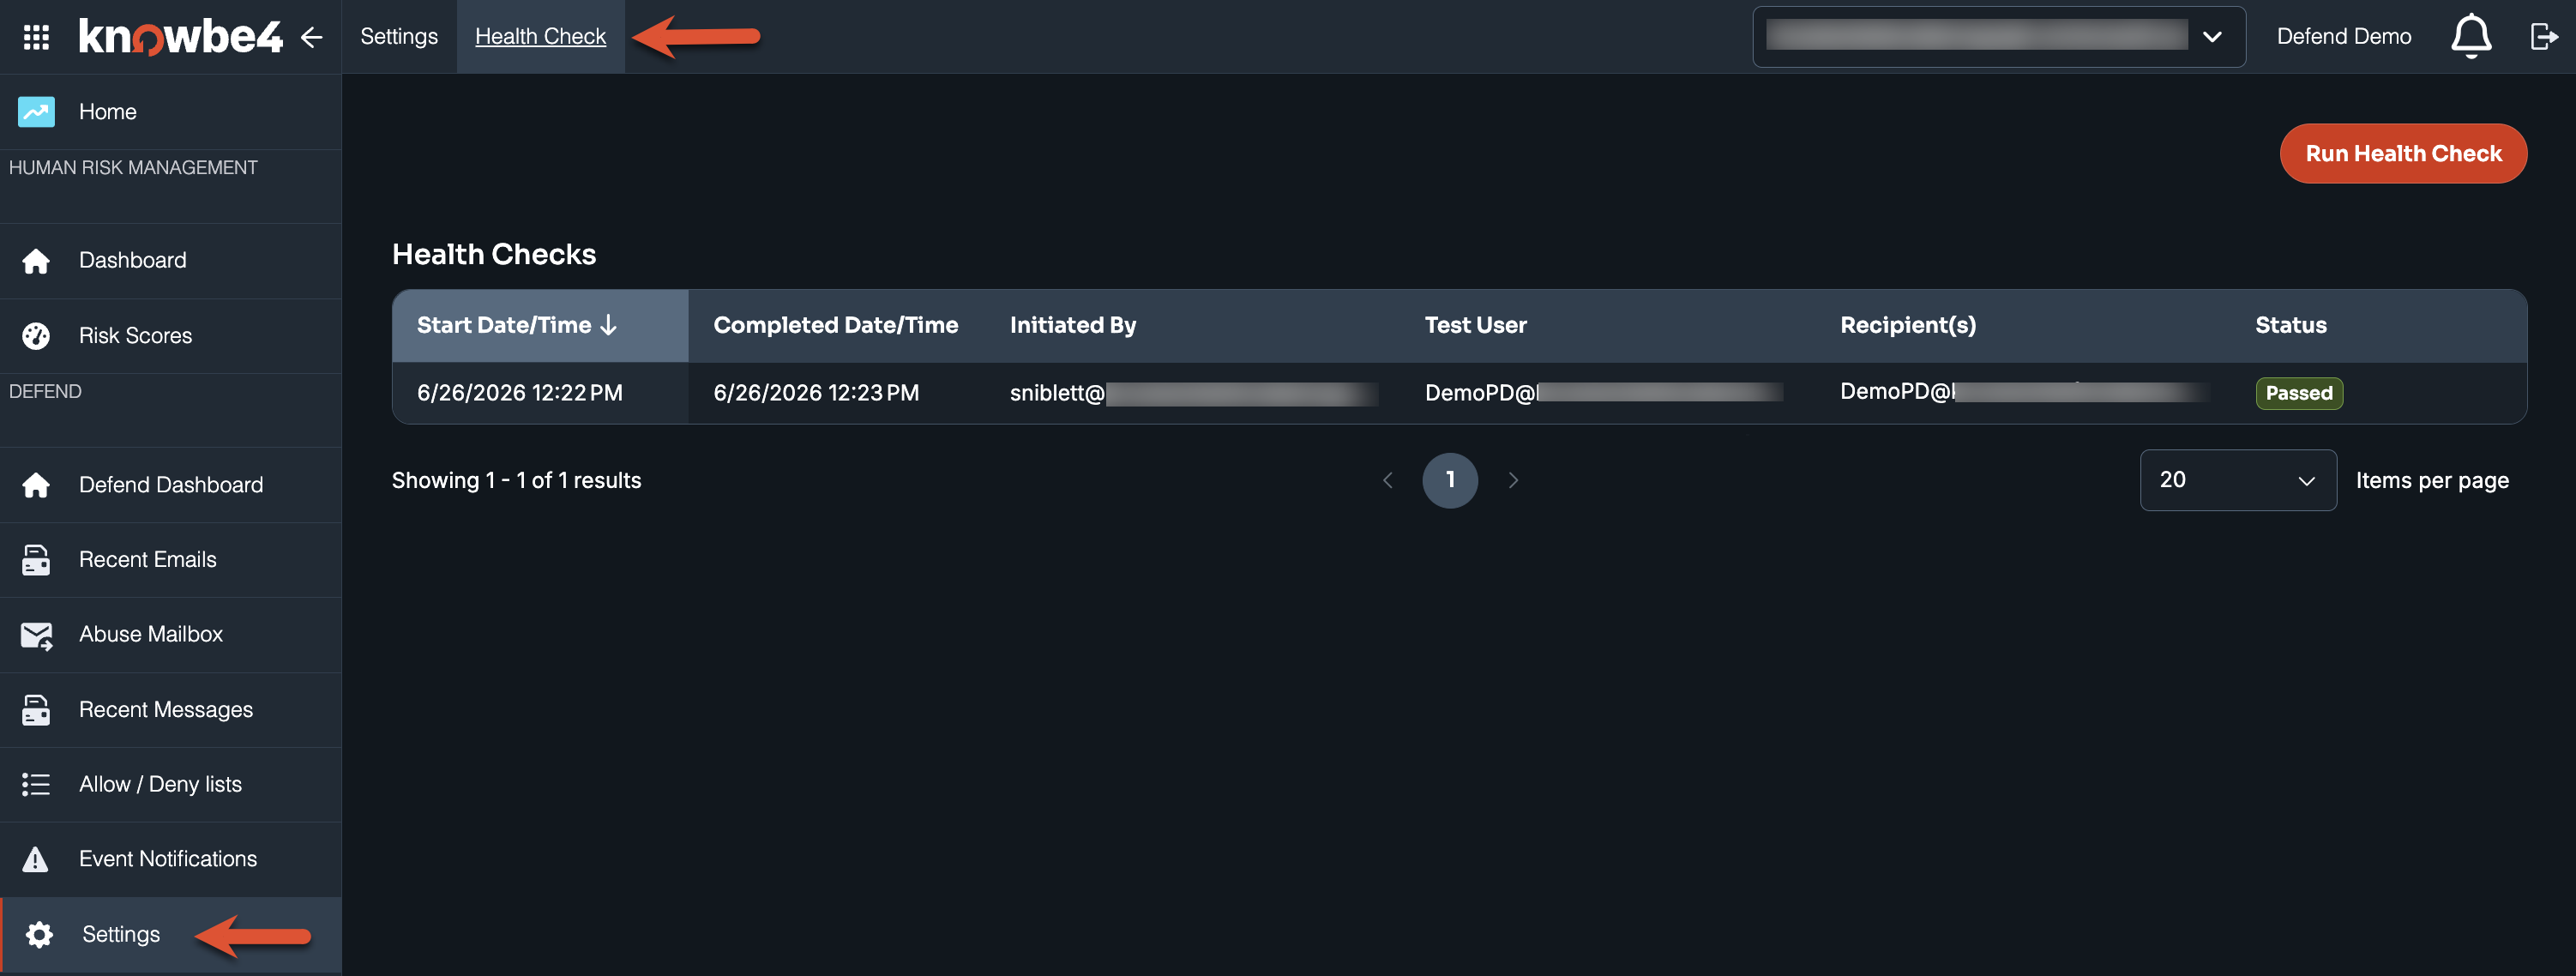
Navigate to Settings > Health Check.
-
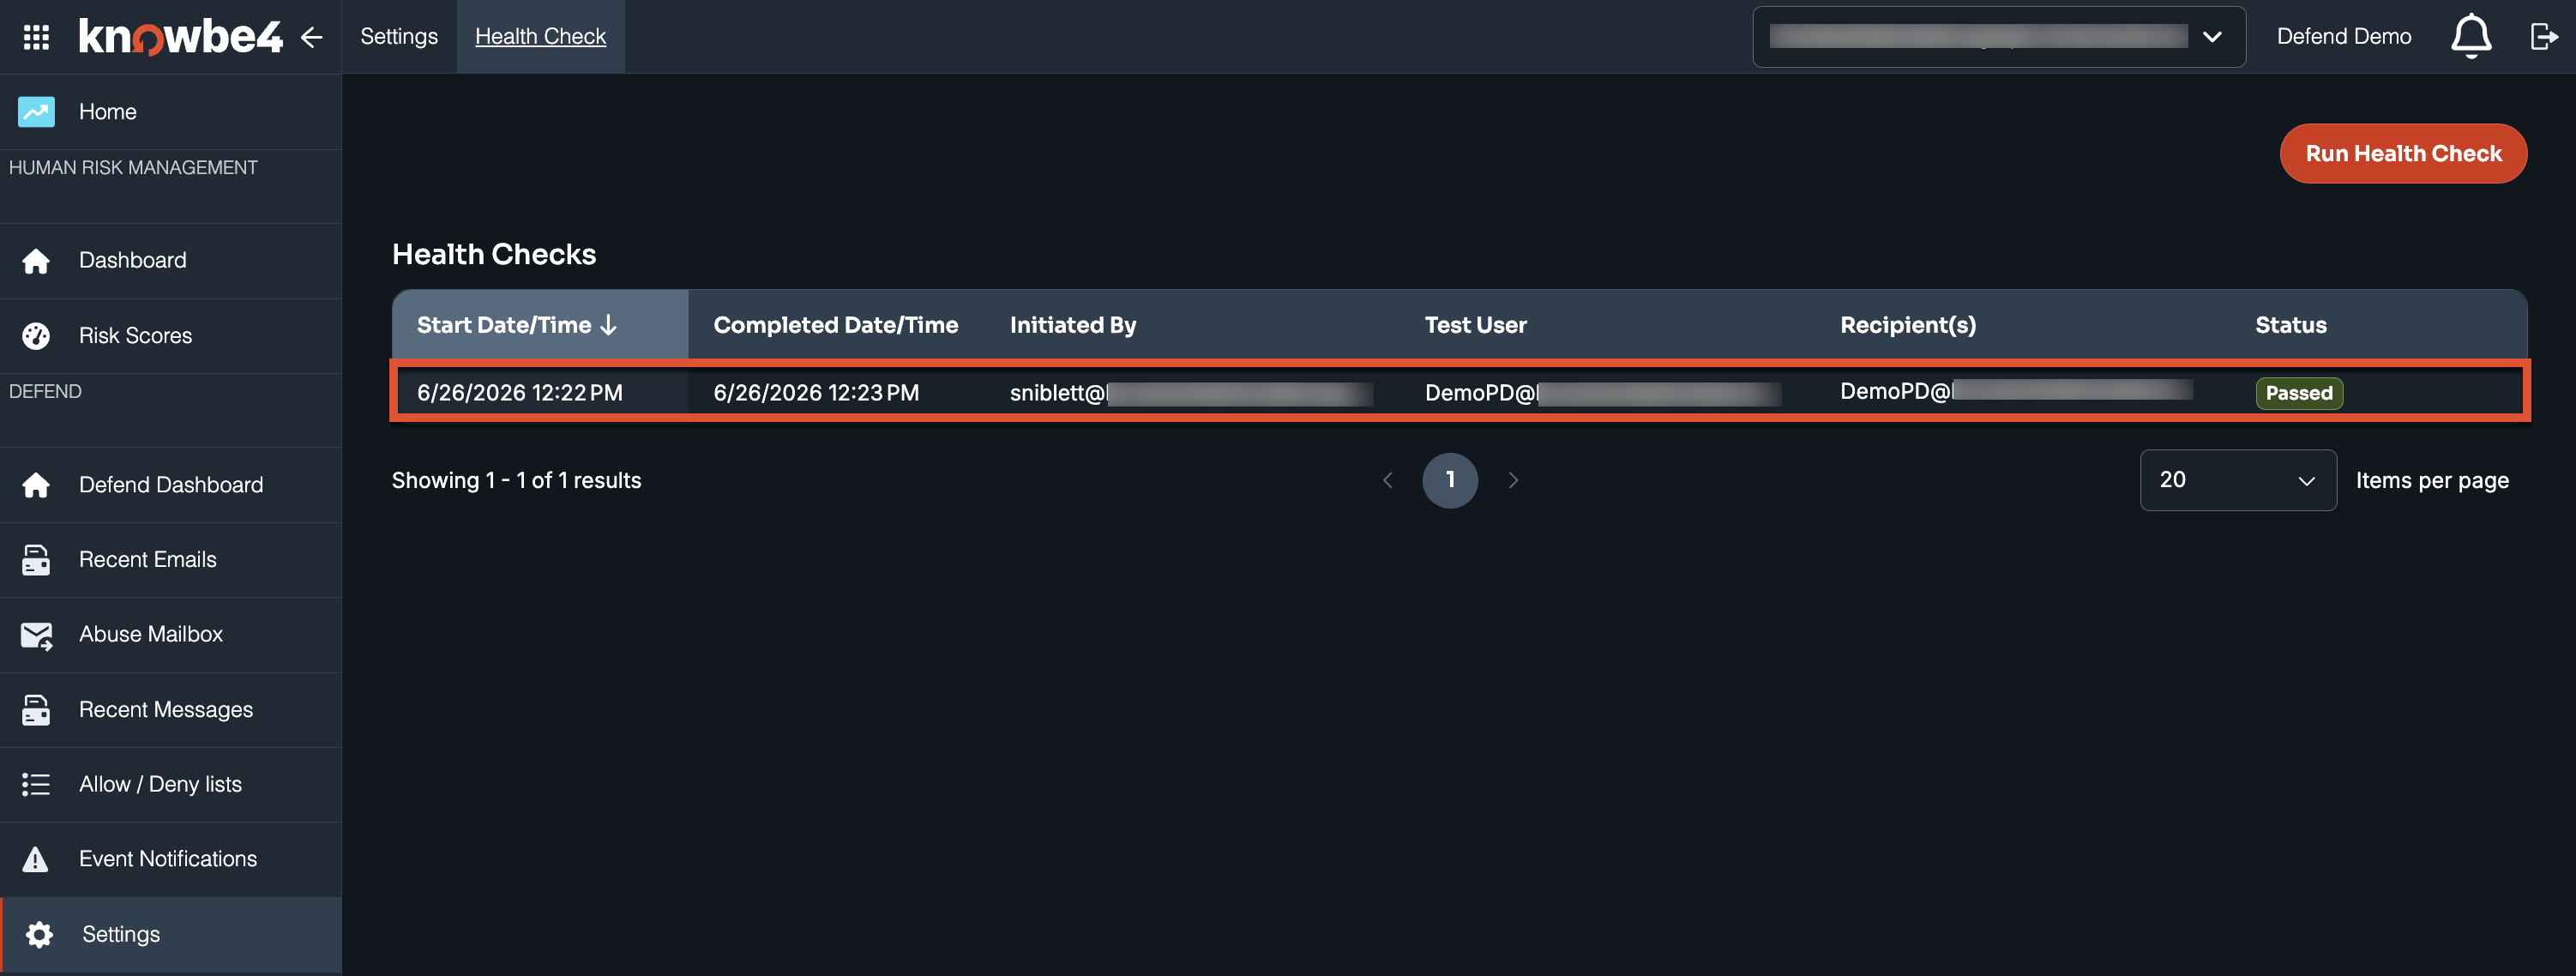
Select the most recent health check from the list.
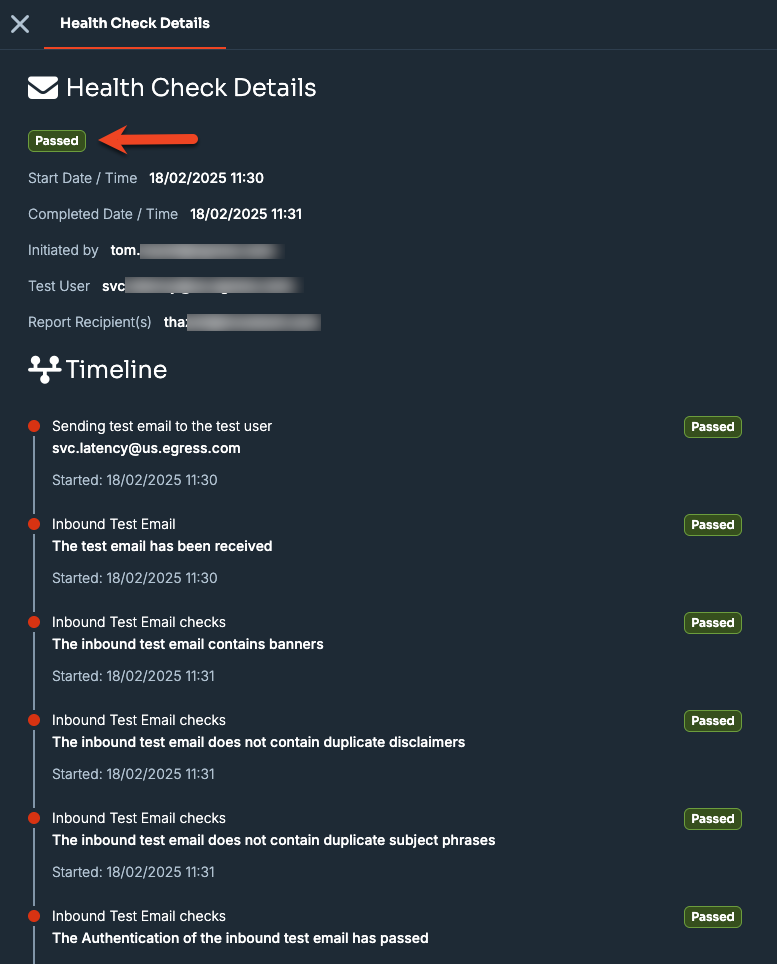
Confirm that the Health Check Details panel shows a green Passed badge.
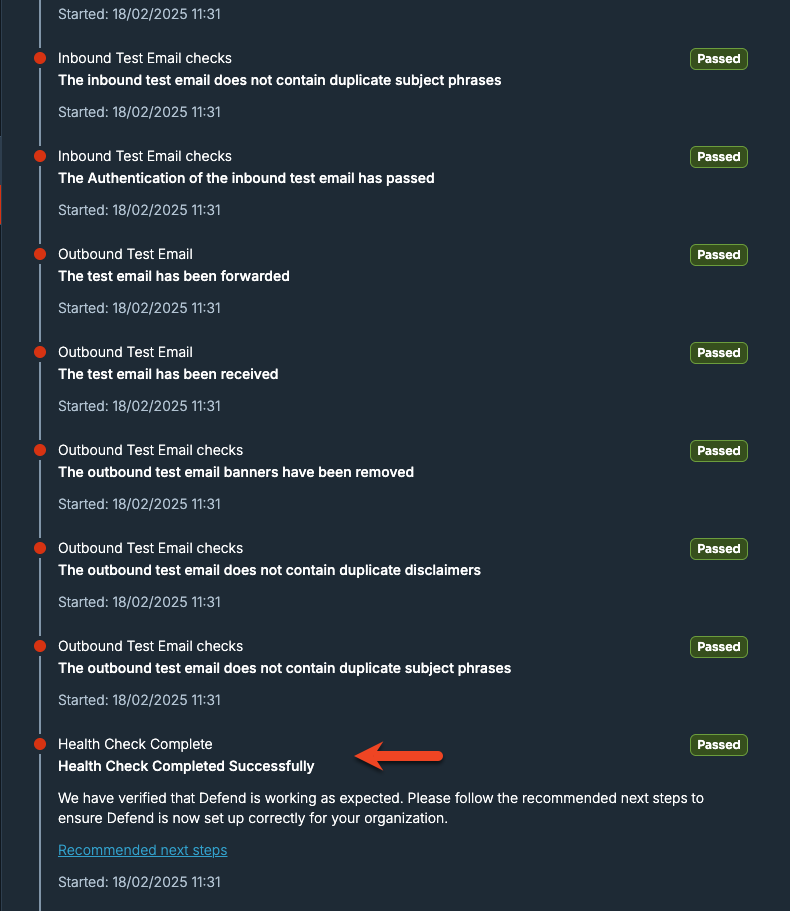
The final entry, titled Health Check Complete, displays "Health Check Completed Successfully".
Review Your Health Check Results
When your health check passes, review your health check results by scrolling down in the Health Check Details panel to see the following message:
Recommended Next Steps
Complete the following steps in order to finish configuring Defend for your organization:
- Verify mail flow: Mail flow verification happens automatically as part of the health check. A passed health check confirms that inbound and outbound mail are routing through Defend correctly.
- Review and tune Company Impersonation Attacks and Linguistic Analysis: These detection settings are in the Settings page. For configuration steps, see the Defend - Configuring Company Impersonation Protection article and the Defend - Configuring Linguistic Analysis article.
-
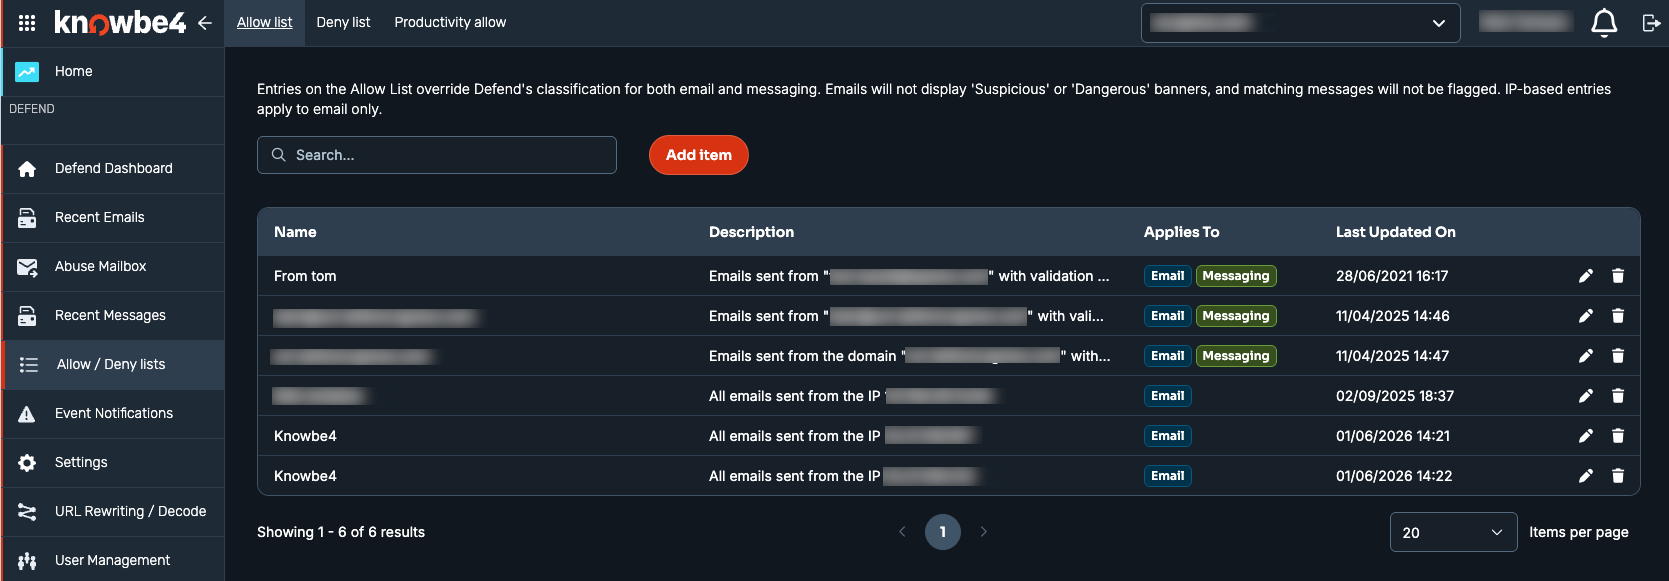
Configure your Allow list, Deny list, and Productivity allow: Navigate to Allow / Deny lists in the main menu. Entries on the Allow list override Defend's classification for email, messaging, or both. For more details, see the Defend - Allow or Deny Lists article.
-
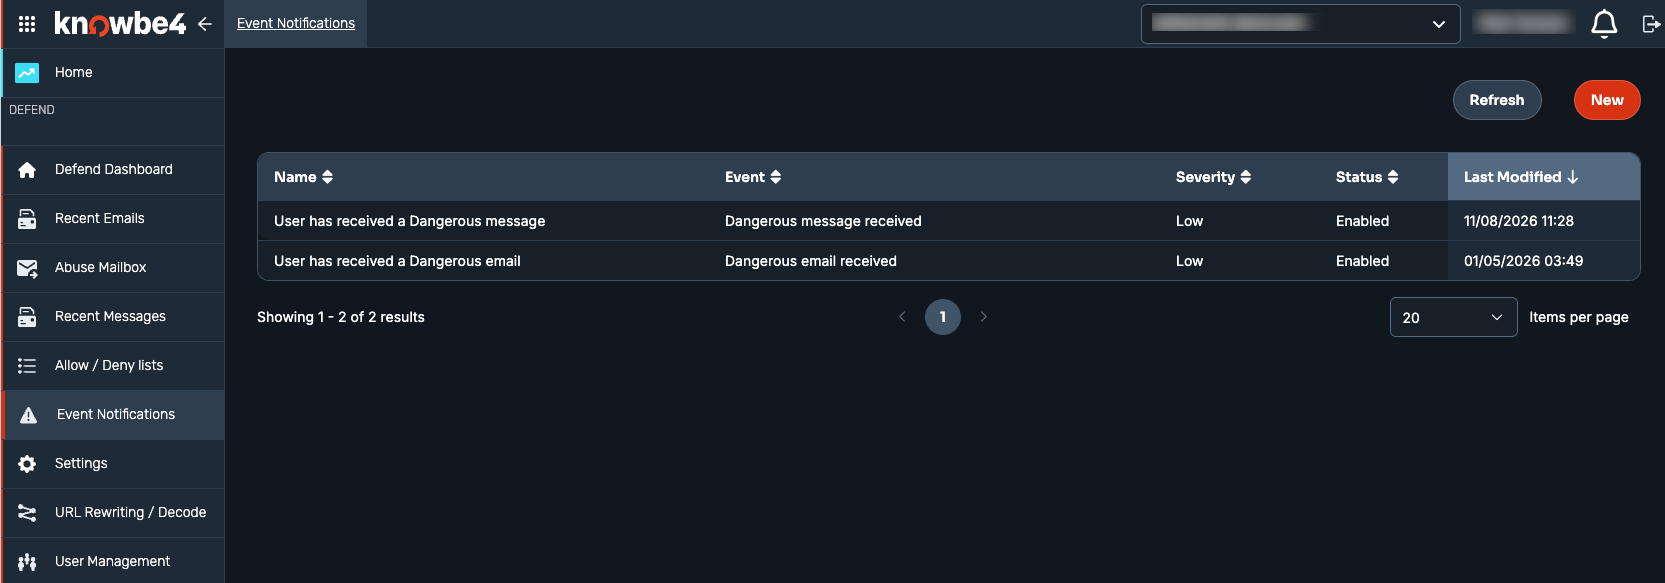
Set up admin notification preferences: Navigate to Event Notifications in the main menu to create and manage notification rules, including event type and severity. For more details, see the Defend - Event Notifications article.
 Note:Confirm you can access the audit log. Most admin roles, including Global Administrator, already have access to the Audit Log in the main menu, so there's usually nothing to configure here.
 -
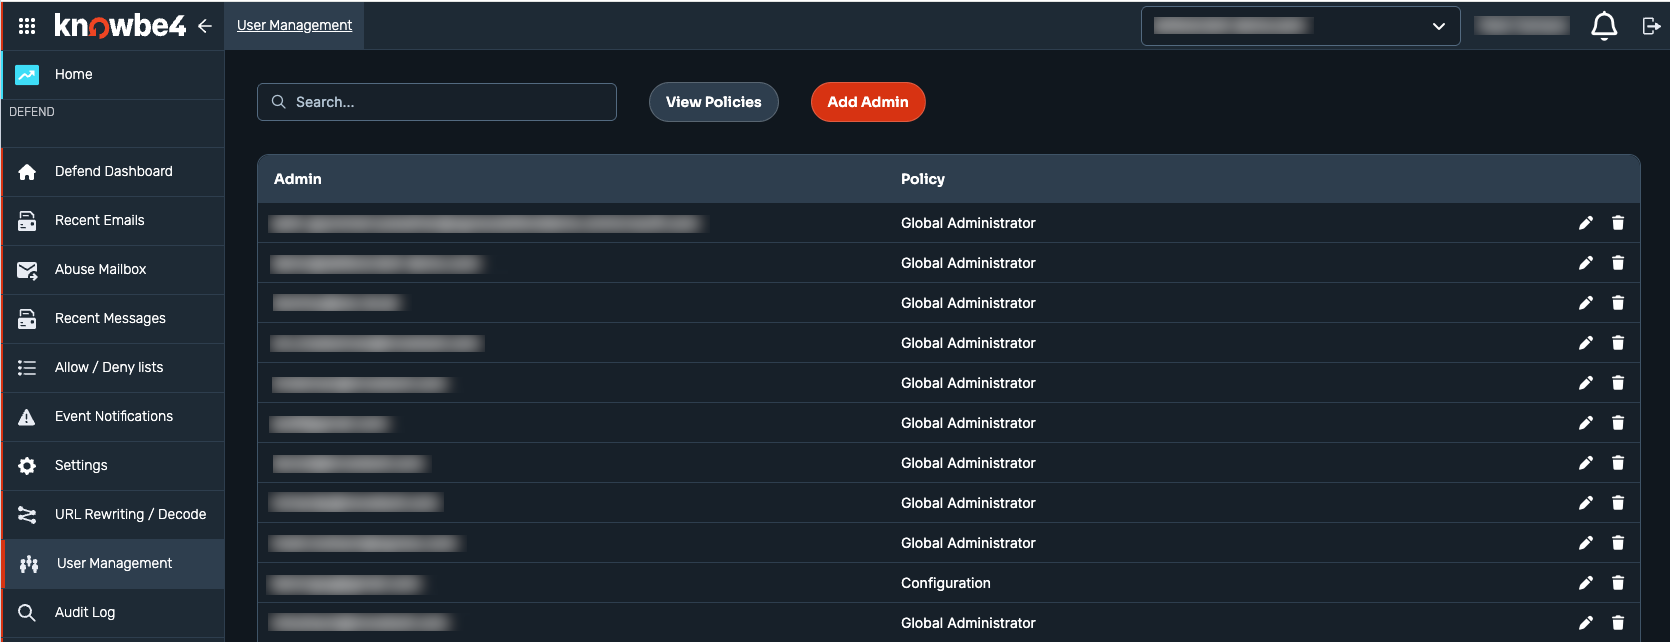
Create additional admin users, if needed: Navigate to User Management in the main menu and select the Add Admin button. For available roles and permissions, see the Defend - User Management article.
Initial Setup Tips
For new deployments, we recommend enabling Silent Mode or Monitoring Mode before turning on full enforcement.
What Silent Mode and Monitoring Mode Do
With either mode enabled, Defend processes email for all your users, but only named users receive Defend's teachable moments and auto-remediation. The rest of your organization has its email processed for learning only. Statistics and threat intelligence are available for all emails processed in Defend, regardless of mode.