In this guide, you'll learn how to get started with Defend. Defend is a powerful cybersecurity tool that safeguards your organization against sophisticated inbound threats. Defend analyzes emails at delivery and provides protection that keeps your users and sensitive data secure. You can use the Defend console to customize security settings and conduct thorough investigations of detected and user-reported phishing emails.
To access the Defend console, you must first use the deployment center to deploy Defend for your organization.
Deployment Center
The Defend deployment center is a comprehensive wizard that allows admins to configure and deploy Defend features to their organization easily. Admins are guided through each section of the deployment process, and progress is saved at every step. Once the deployment center is complete, admins gain access to the Defend console, where further customization can be completed.
Prerequisites
To complete the deployment center process, make sure you have the following prerequisites:
- Google Workspace domain
- Super Administrator role on Google Workspace
- Service account (the KnowBe4 Defend Deploy User) for domain-wide delegation
Grant Google Workspace Permissions
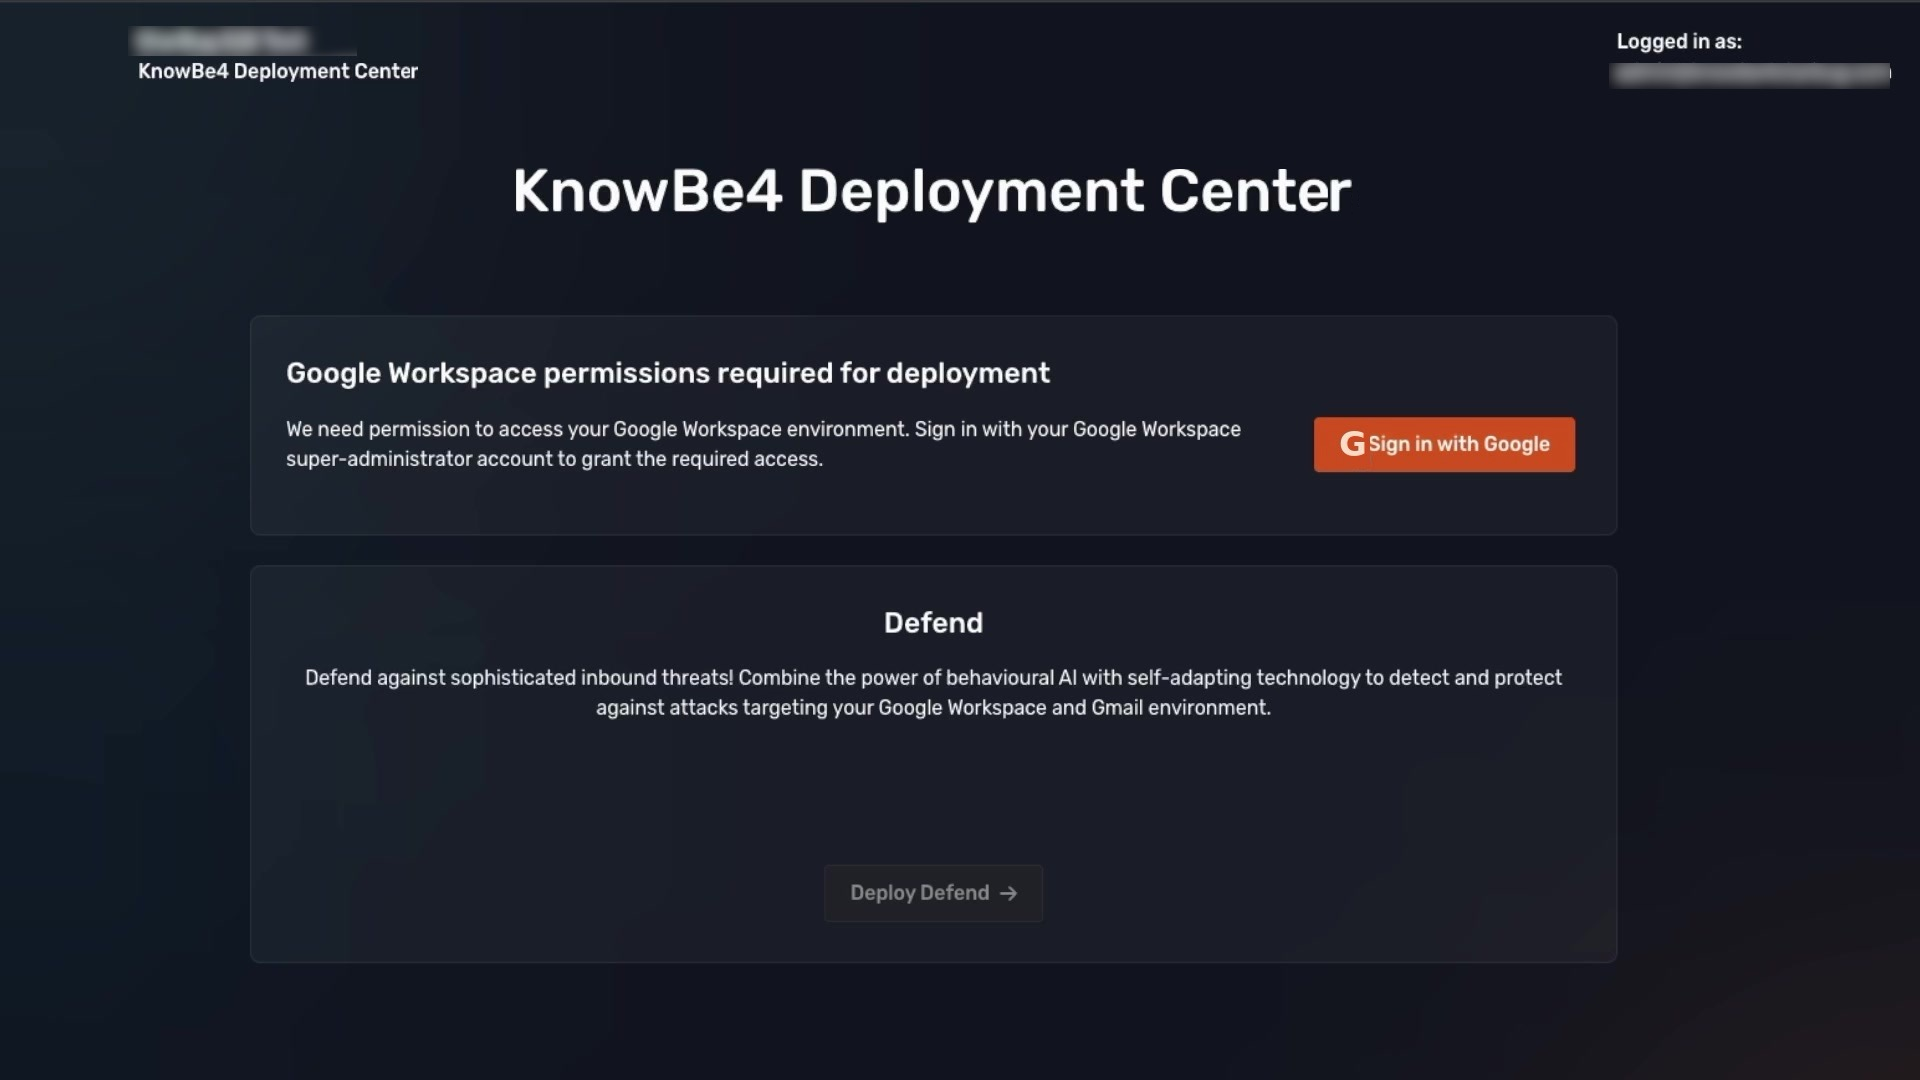
Before the deployment wizard begins, the Deployment Center requires you to grant Google Workspace permissions. You can sign in with your Google Workspace super-administrator account to grant Defend the access it needs.
The use of raw or derived user data received from Google Workspace APIs adheres to the Google User Data Policy, including the Limited Use requirements.
Once granted, select Deploy Defend to begin the wizard.
Deployment Center Steps
The following steps should be completed in the deployment center:
Domain and SEG: Confirm your primary domain, industry, and Secure Email Gateway (SEG) provider. For more information about the fields on the Domain and SEG page, see the list below.
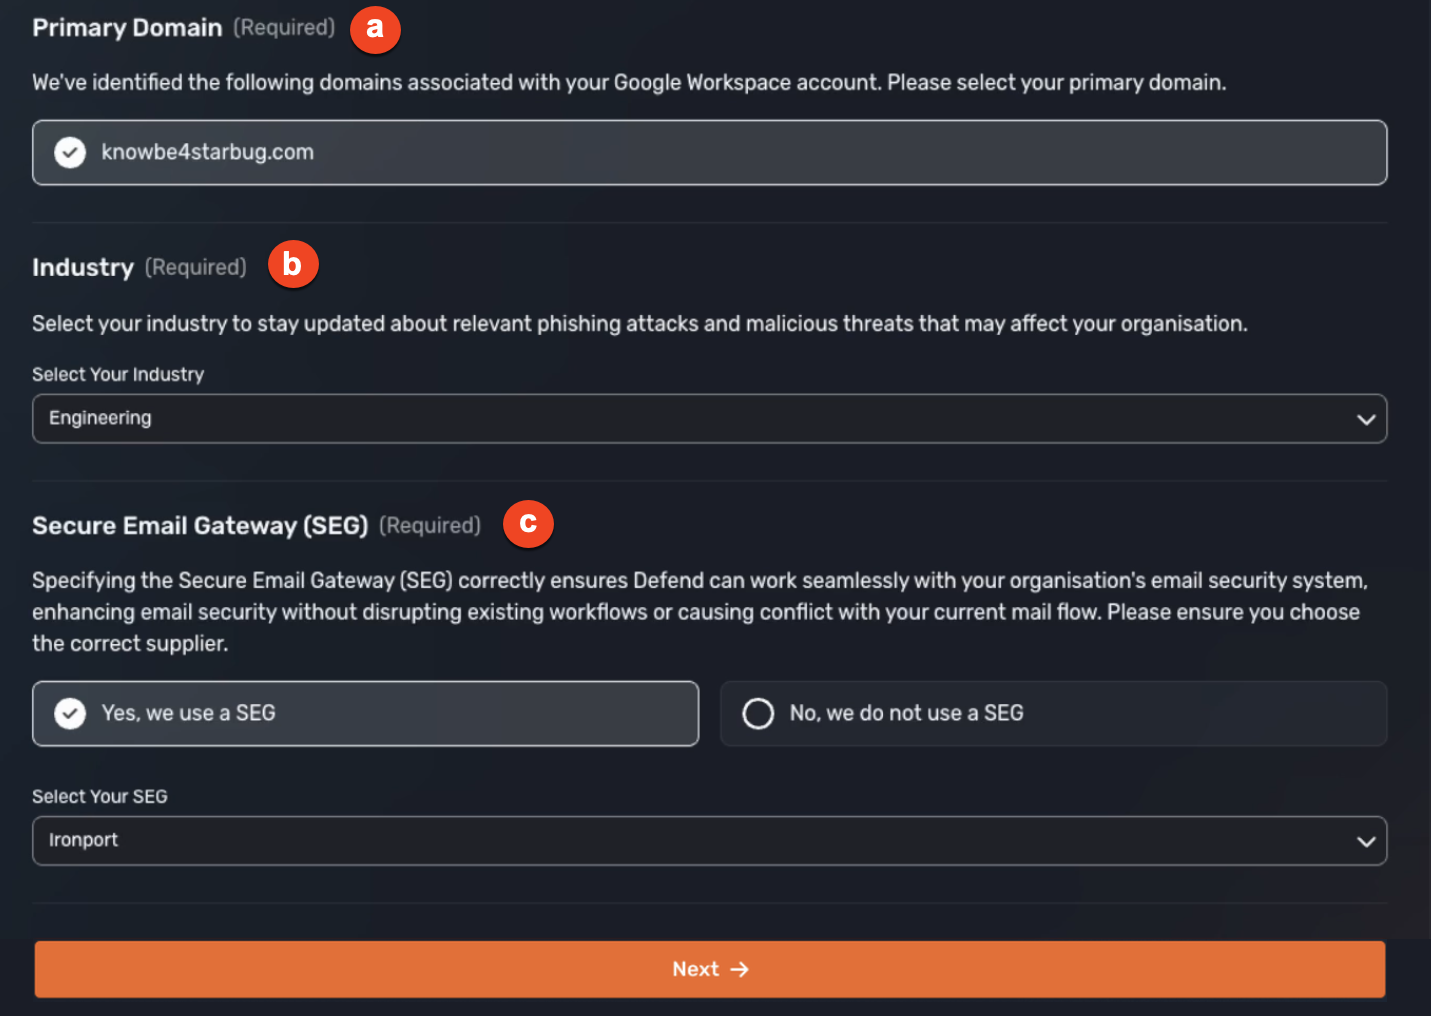
- Primary Domain: Defend will detect and provide a list of internal domains. Review the list and select your organization's primary domain.
- Industry: Use the drop-down menu to select the most appropriate industry for your organization. Industry information enables Defend to address industry-specific threats.
- Secure Email Gateway (SEG): Select if your organization uses a SEG.
Impersonation: Customize your impersonation protection by providing your organization's associated domains and brand names. For more information about the fields on the Impersonation page, see the list below.
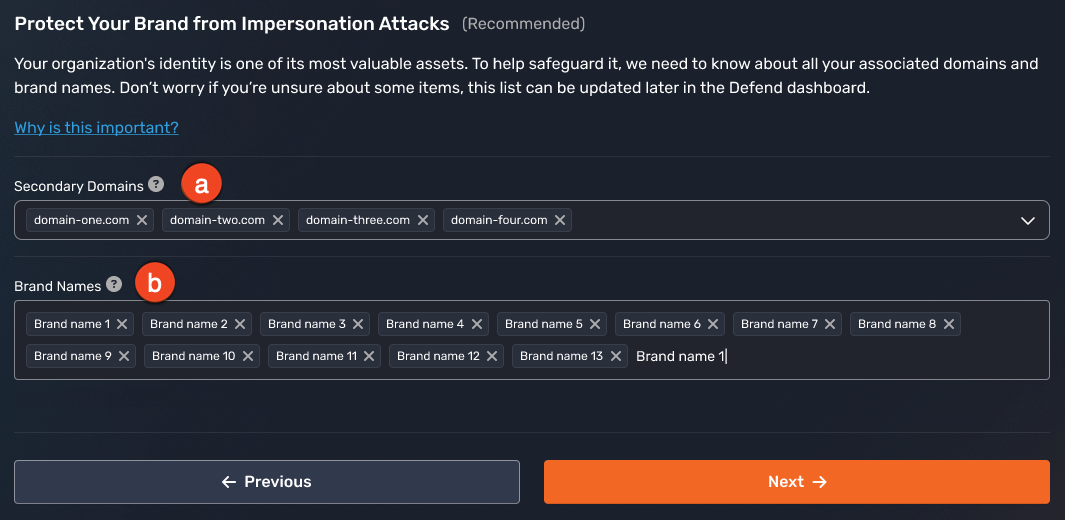
- Secondary Domains: Knowing your secondary domains allows Defend to extend protection to all your organization's domains and prevents impersonation attacks of these domains.
- Brand Names: Understanding your brand names enables Defend to detect and block brand impersonation attacks that attempt to use variations of your organization's trusted identity. Adding as many brand names as possible is key to maximizing protection against these impersonation attacks.
Linguistics: Avoid false positives by listing custom subject line phrases that are used widely in your organization. For more information about the fields on the Linguistics page, see the information below.
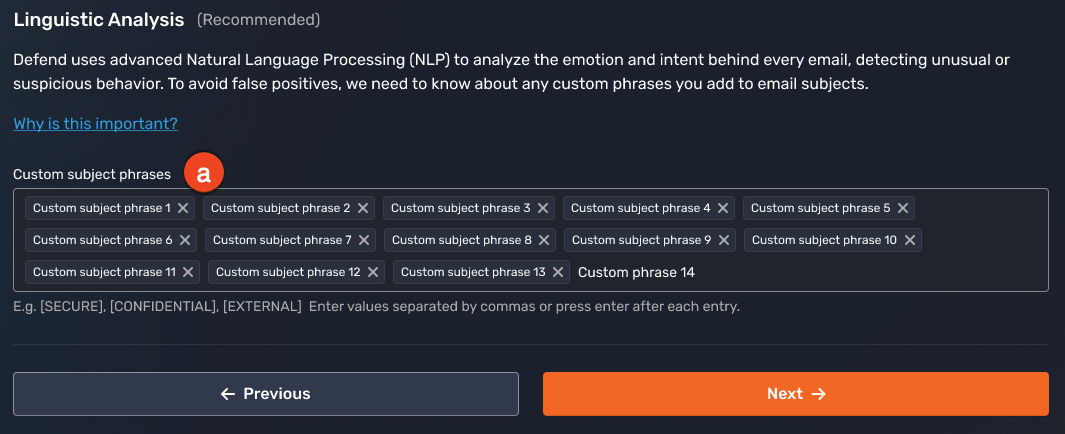
- Custom subject phrases: Understanding your organization's common email subject phrases enables Defend to better distinguish between legitimate communications and sophisticated phishing attempts that mimic your organization's standard messaging patterns.
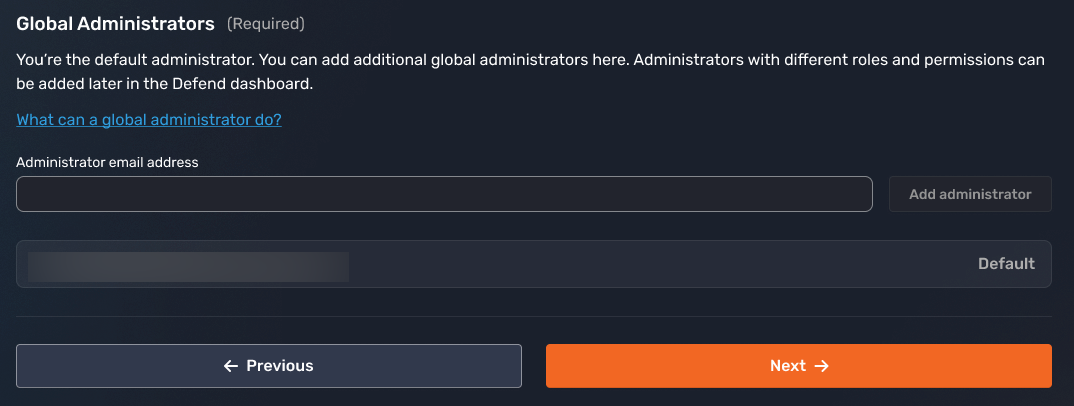
Admins: Specify the global admins who will be managing your Defend console.
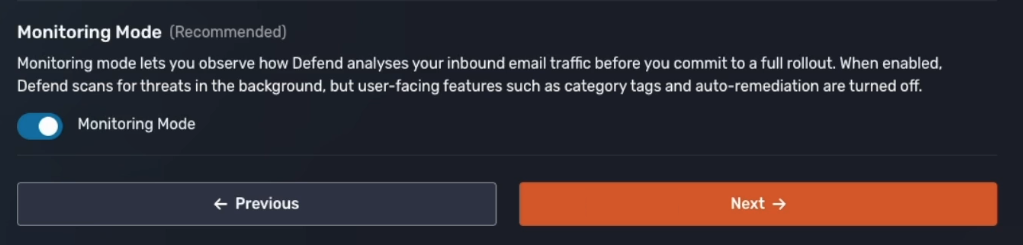
Users: To test Defend without impacting user experience, enable Monitoring Mode. Monitoring mode exceptions can be added in the Defend admin console to allow specified users to receive Defend functionality before a full rollout. You can disable monitoring mode entirely when you're ready for a full rollout.
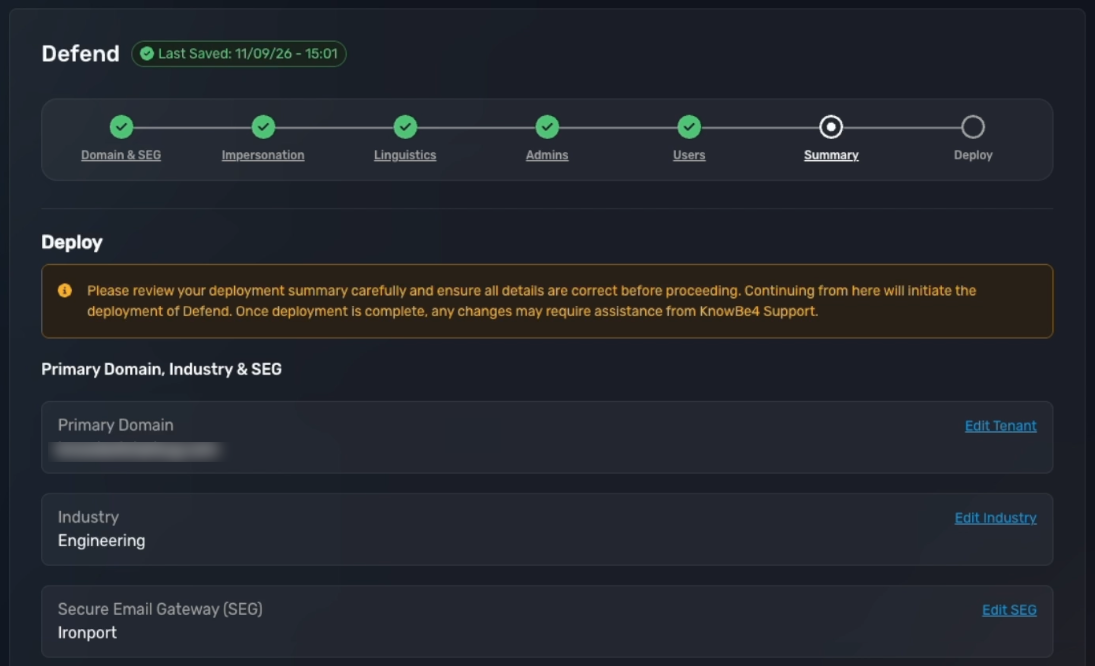
Summary: Review and edit the information you have provided before deployment. Continuing from this page will initiate the deployment of Defend. Once deployment is complete, any changes may require assistance from KnowBe4 support. Once you are ready to proceed, select Next.
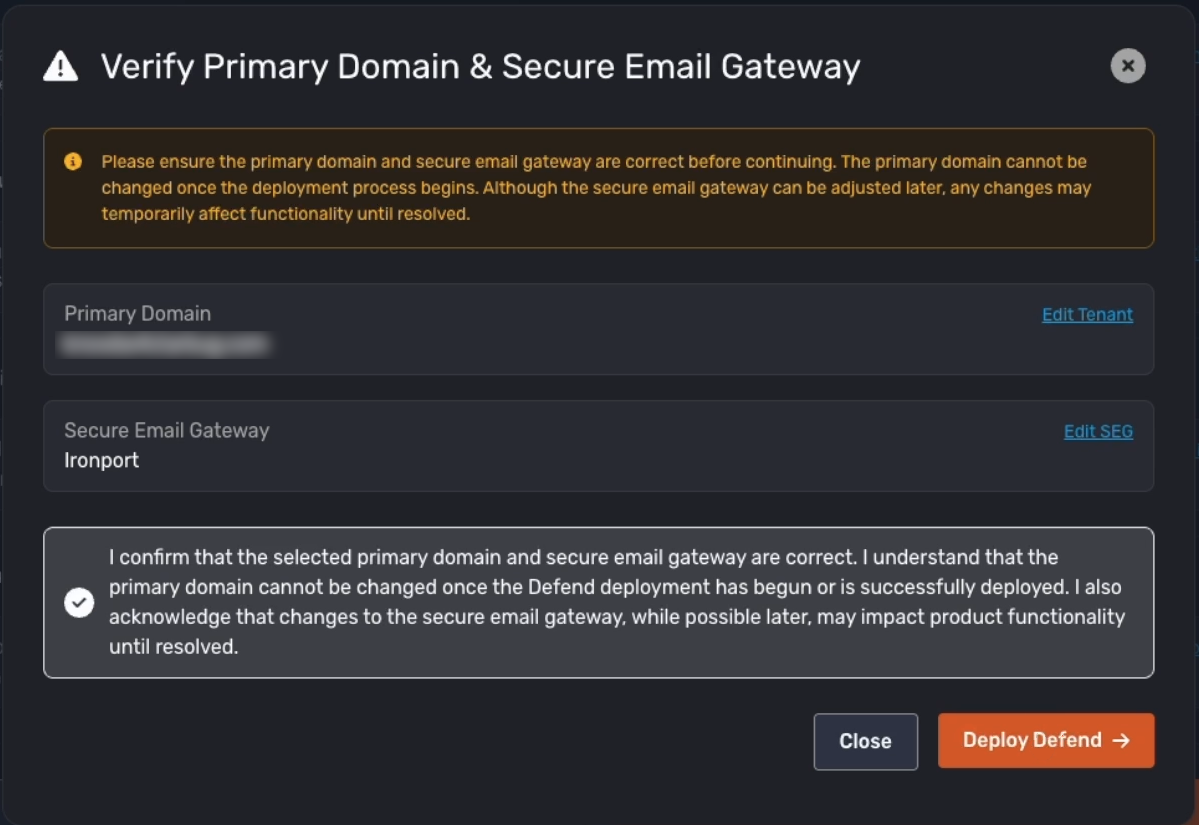
A Verify Primary Domain & Secure Email Gateway confirmation window appears. Review your Primary Domain and Secure Email Gateway selections carefully. The primary domain cannot be changed once deployment begins, and while the Secure Email Gateway can be adjusted later, changes may temporarily affect functionality until resolved.
Check the confirmation box and select Deploy Defend to proceed. Selecting Deploy Defend takes you to the Deploy page, where you'll configure a domain-wide delegation for your Google Workspace domain.
Deploy: A Google Workspace Super Administrator needs to configure domain-wide delegation. This lets Defend securely access the services it needs on your users' behalf. Select Configure Domain-Wide Delegation for step-by-step instructions, or select Why domain-wide delegation is required to learn more.
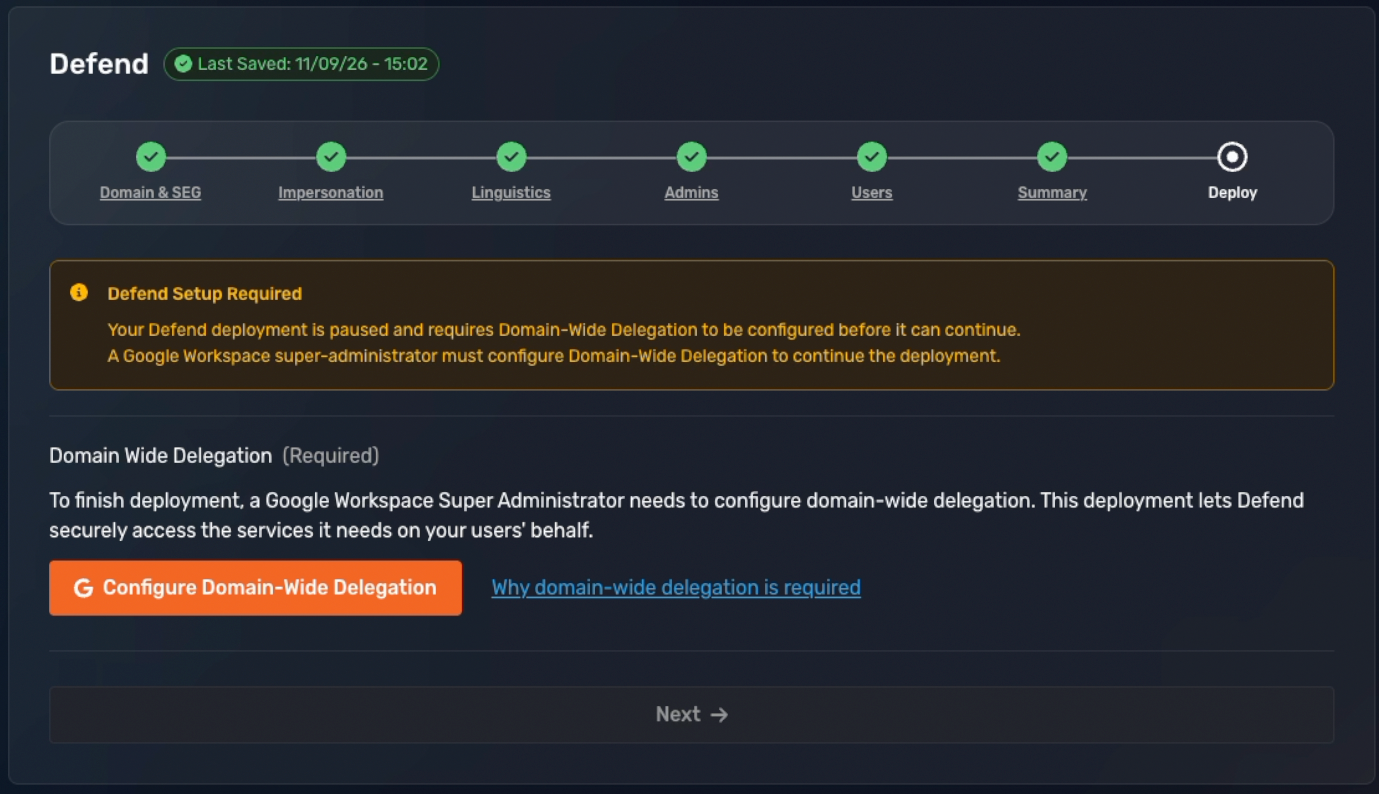
The domain-wide delegation setup guide walks you through the following steps:
- Sign In and Navigate to API Controls: Sign in to the Google Admin console at admin.google.com with a Super Administrator account, then go to Security > Access and data control > API controls, and select Manage Domain Wide Delegation.
- Enter the KnowBe4 Client ID: Enter your KnowBe4 Client ID for your environment in the Client ID field, then select Add new to begin creating a delegation entry for KnowBe4 Defend.
- Enter the OAuth Scopes and Select Authorize: The required scopes are pre-set and can't be changed. Select Authorize to save the delegation settings.
- Add a Deploy User: Create a dedicated user with specific privileges to operate on behalf of your organization. In the First name field, enter "KnowBe4 Defend." In the Last name field, enter "Deploy User." In the Primary email field, enter an email address (we recommend knowbe4-defend-deploy-user@[your domain]). Save the generated password, or select Send sign-in instructions. Make a note of this email address, since you'll need it later to verify the account.
- Create a Custom Role: Go to the deploy user's profile, then under Admin roles and privileges, select Assign Roles. On the Roles screen, select Create Custom Role and then Create new role. In the Name field, enter "KnowBe4 Defend Deploy Role." The Description field is optional. Select Continue.
- Assign Privileges to the Custom Role: On the Select Privileges screen, assign the following access levels to the custom role. Select Continue once you've selected all the necessary privileges, then select Create Role.
| Privilege | Access level |
|---|---|
| Domain Management | Enable |
| Groups | Read |
| Organizational Units | Read |
| Users | Read |
- Assign the Custom Role to the Deploy User: Go to Admin roles and open the custom role you created. On the role's Admins tab, select Assign members, find and select the deploy user you created in step 4, then select Assign Role.
- Grant the User Correct Permissions: Enter the deploy user's email address, then select Check Configuration.
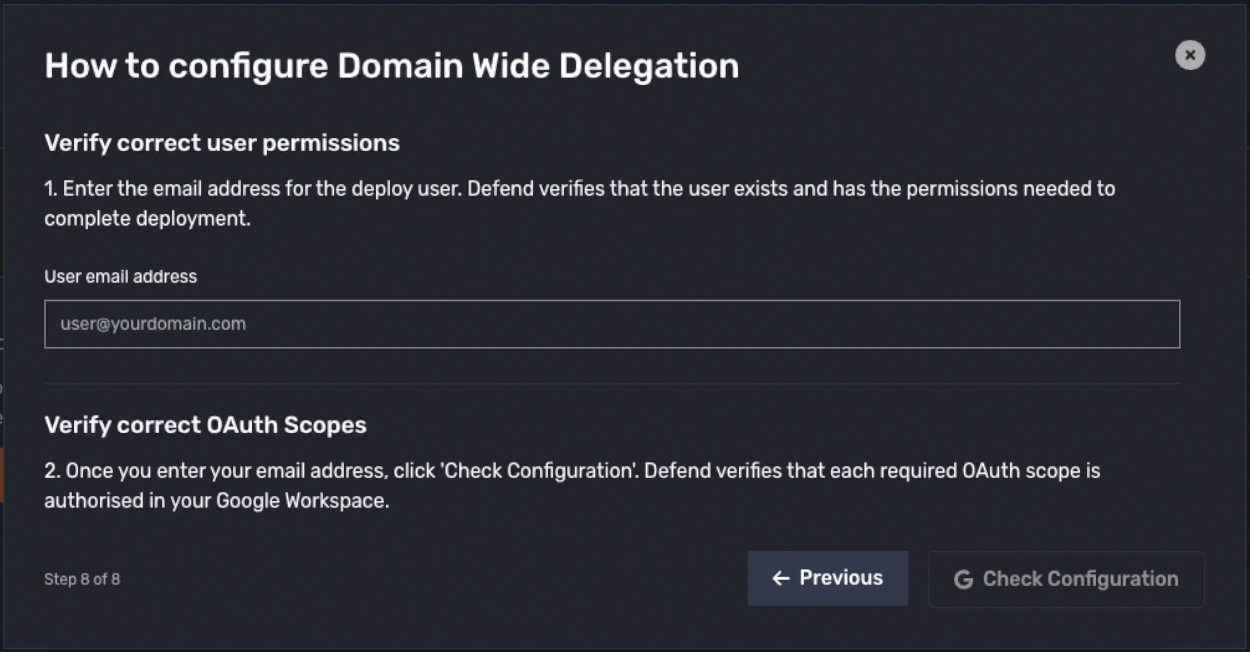
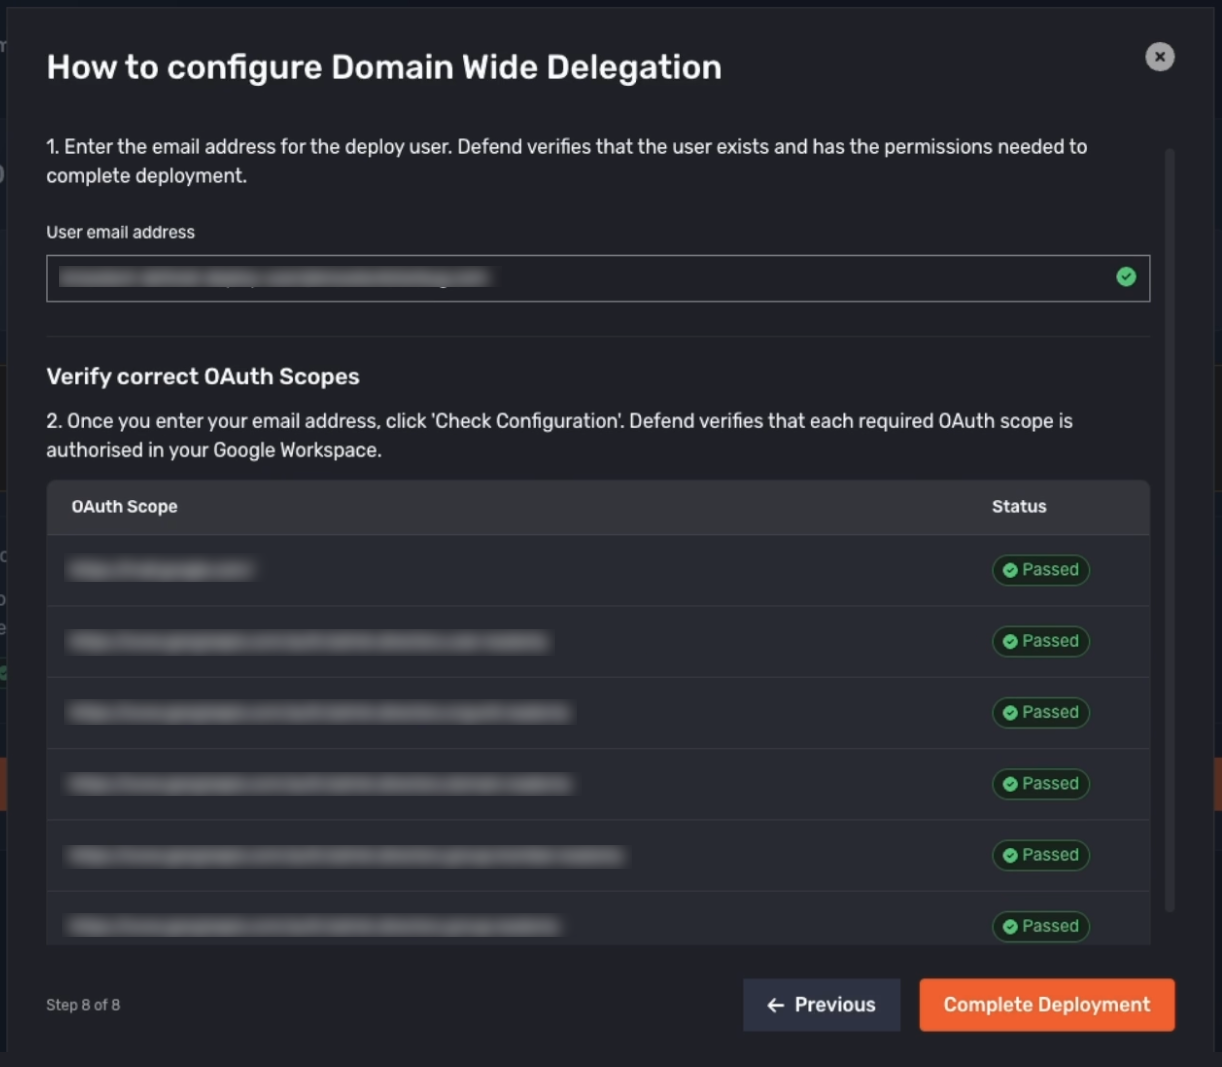
Defend verifies that the user exists and that each required OAuth scope is authorized in your Google Workspace. After the domain-wide delegation is verified, select Complete Deployment.
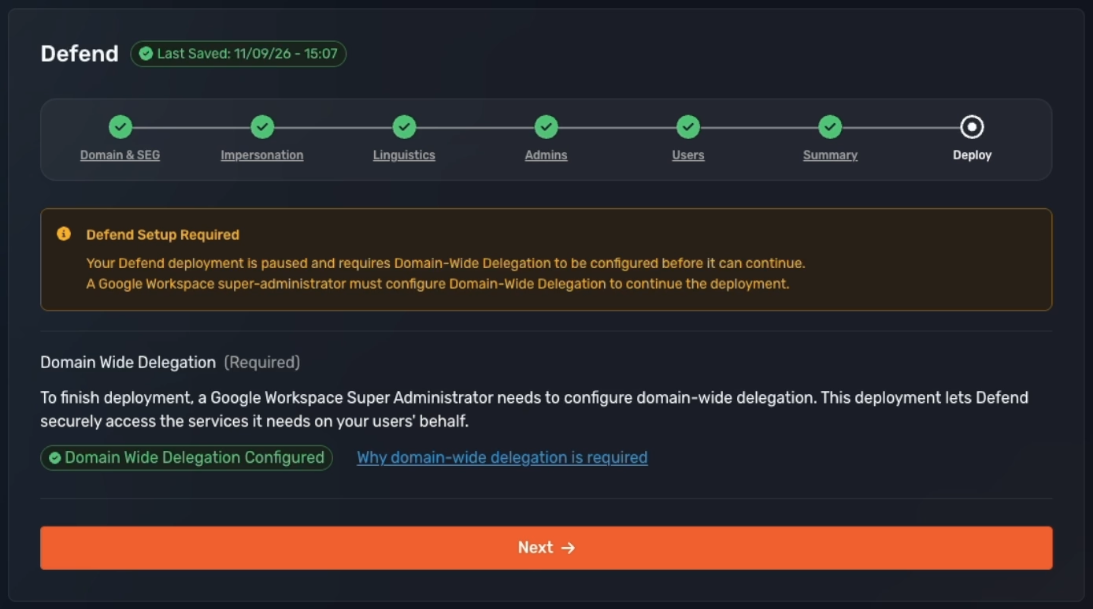
Once the domain-wide delegation has been configured, select Next to begin deployment.
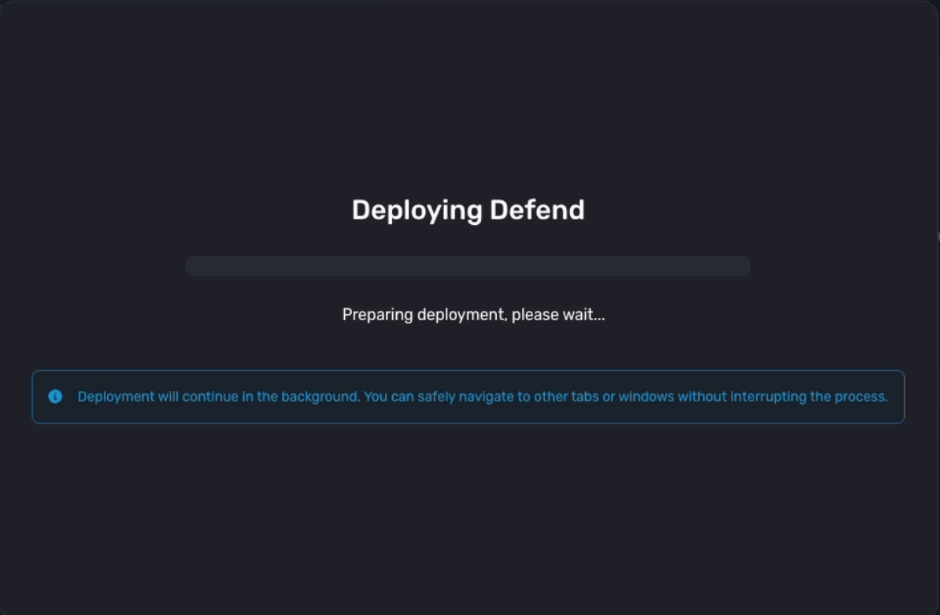
After you click Next, the Deploying Defend pop-up window opens while your deployment is set up.
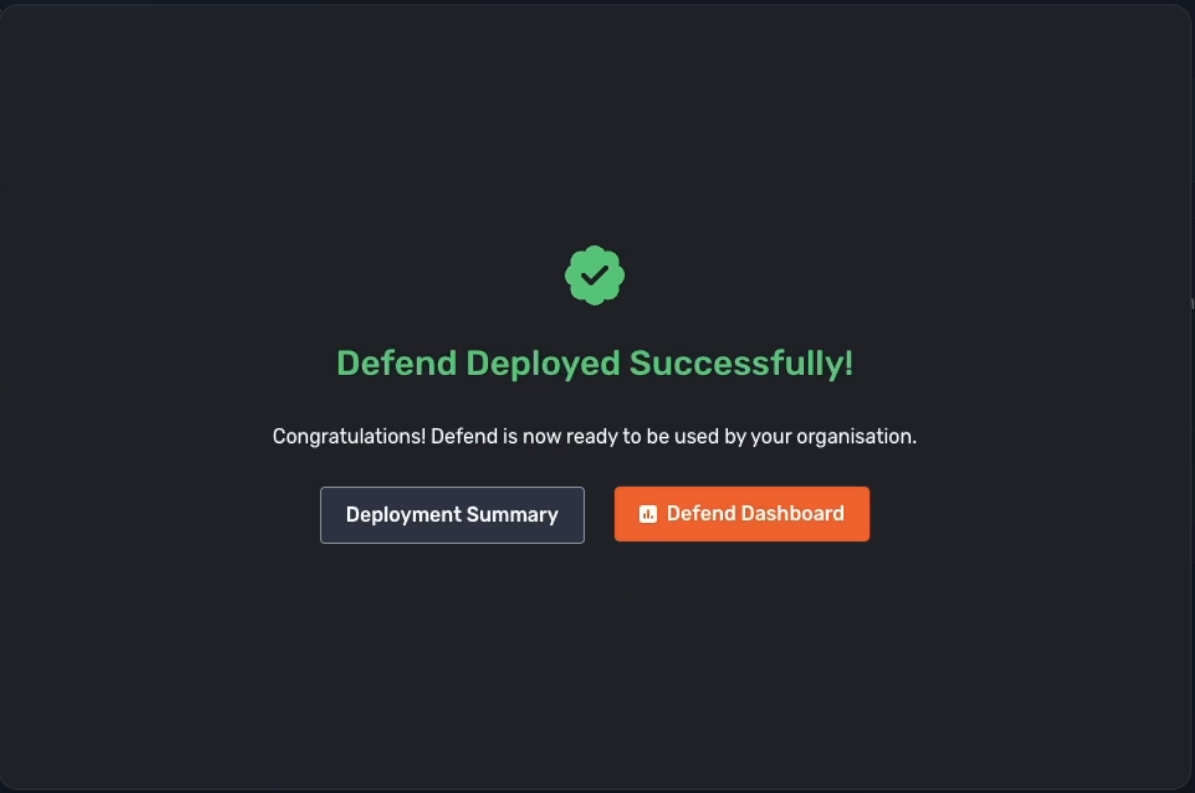
When the deployment finishes, a confirmation screen appears, giving you the option to view the Deployment Summary page or go directly to the Defend Dashboard.
Defend Console
Once deployment is complete, you will have access to the Defend console.
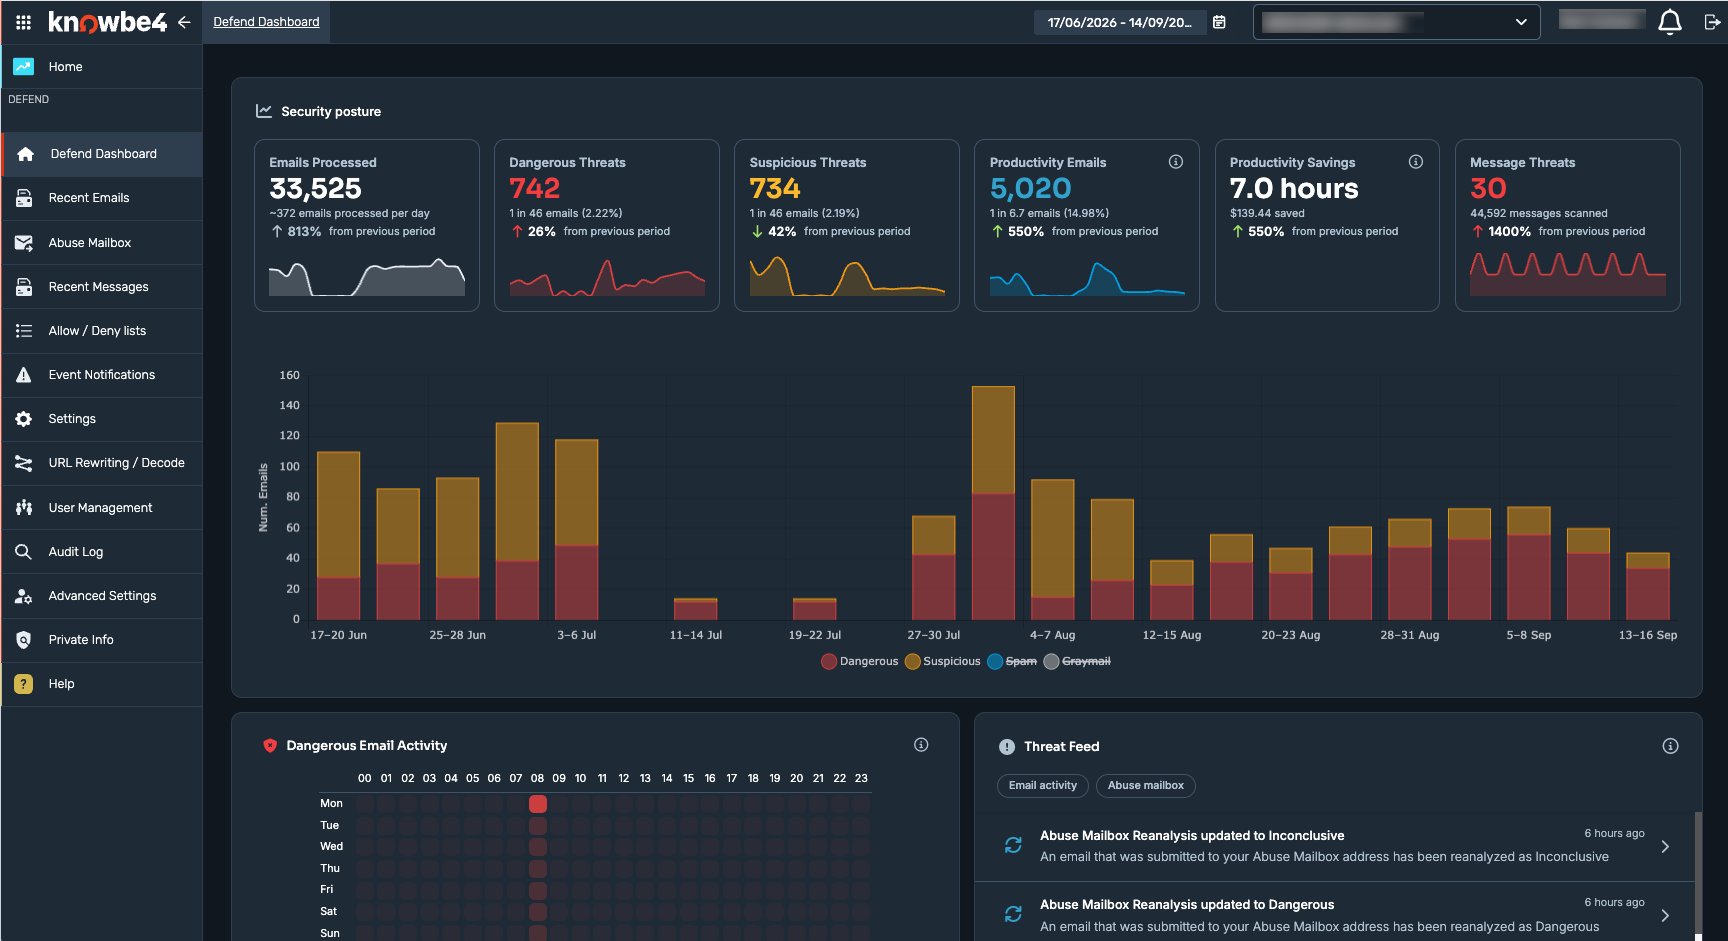
The console is comprised of the following pages:
- Dashboard
- The dashboard provides an overview of the email activity observed by Defend. The information on the dashboard is displayed in easy-to-read graphs and charts.
- For further information, see the Defend - Dashboard article.
- Recent Emails
- The Recent Emails page allows admins to view and analyze emails processed by Defend.
- For further information, see the Defend | Google Workspace Recent Emails article.
- Allow or Deny List
- These lists can specify what happens when a specified email address, domain, or IP address sends an email to a user in your organization.
- For further information, see the Defend - Allow or Deny Lists article.
- Event Notifications
- Event notifications can be used to trigger admin notifications when specific actions occur.
- For further information, see the Defend - Event Notifications article.
- Settings
- The Settings page allows admins to customize Defend settings to suit an organization's needs.
- For further information, see the Defend - Google Workspace Settings article.
- URL Rewriting or Decoding
- Add URL exceptions that Defend will no longer rewrite. Use the decode tool to view Defend's rewritten URLs in their original form.
- For further information, see the Defend - URL Rewriting Exceptions and Defend - URL Decoding articles.
- User Management
- The User Management page allows you to add, edit, and remove Defend admins.
- For further information, see the Defend - User Management article.
- Audit Log
- View changes in your Defend console made by all admins.