Smart hosting allows a mail server to route emails directly to another mail server. By smart hosting, KnowBe4 can bypass your spam filter and create a direct route from our mail server to yours. If your mail environment includes a spam filter that impacts the deliverability of your Phishing Security Tests (PSTs), you can bypass your spam filter through smart hosting.
For more information about smart hosting, see the sections below.

Add a Smart Host
To create a smart host connection, you’ll need to allow our IP addresses in your mail server, then enable the smart host connection from your KnowBe4 console account settings. For more instructions, see the steps below:
- Allow KnowBe4's IP addresses in your firewall or mail server.
- Set up a connector to our mail server based on your organization’s mail flow. For more information about instructions for a specific mail flow, see the list below:
-
Microsoft 365 Microsoft 365 (link opens in new window)
Note:For our recommended Microsoft 365 connector setup, see the Set Up a Connector in Microsoft 365 section below. - Google Workspace Google Workspace (link opens in new window)
- Microsoft Exchange Microsoft Exchange (link opens in new window)
-
- After you set up the connector, log in to your KnowBe4 console and click your user name in the top-right corner.
- Click Account Settings.
- Navigate to Phishing > Smart Hosts.
- Click Add New Smart Host to view the smart host configuration window.
-
In the Add New Smart Host window, enter your mail server information to establish the smart host. For a description of the different configuration options in the window, see the list below:
- Select the domain for this Smart Host: In this drop-down menu, you’ll select the domain for the smart host you would like to configure. This domain must be an allowed domain on your account.
- Public Hostname or IP Address: In this field, you’ll enter the public hostname or IP address of your mail server. You also have the option to specify a port number in the Port Number field if you are not using the default SMTP port.
- Priority: In this field, you can configure a priority number when setting up multiple smart hosts for the same domain. Lower numbers will receive a higher priority. If you are configuring only one smart host for the domain, this field can be left as zero. This field can also be used if you would prefer a particular smart host connection to be used first.
-
Enable Credential Authentication: This check box is an optional setting that can be used if your mail server connector requires credentials. You'll need to enter your credentials to establish the smart host connection and any time you save changes to the smart host.
Note:All mail is routed using Transport Layer Security (TLS) by default for smart hosts. If TLS fails, mail will automatically be routed without TLS. - Add Another Smart Host Connection: Clicking this button allows you to configure another smart host connection for the same domain. This button will also allow you to specify other IP addresses or mail servers that may be in use for the domain.

- Once you have configured the smart host, click Save to save your changes.
We recommend testing your new smart host connection to ensure that emails are being delivered as expected. You can use the Send Me a Test Email button to send an email to the email address that you have specified. This button will appear only after you have saved changes to your smart host configuration.

Set Up a Connector in Microsoft 365
To add a connector to your Microsoft 365 account, follow the steps below:
- From your Exchange admin center, navigate to Mail flow > Connectors.
- Click +Add a connector.
-
In the Connection from field, select Partner organization.
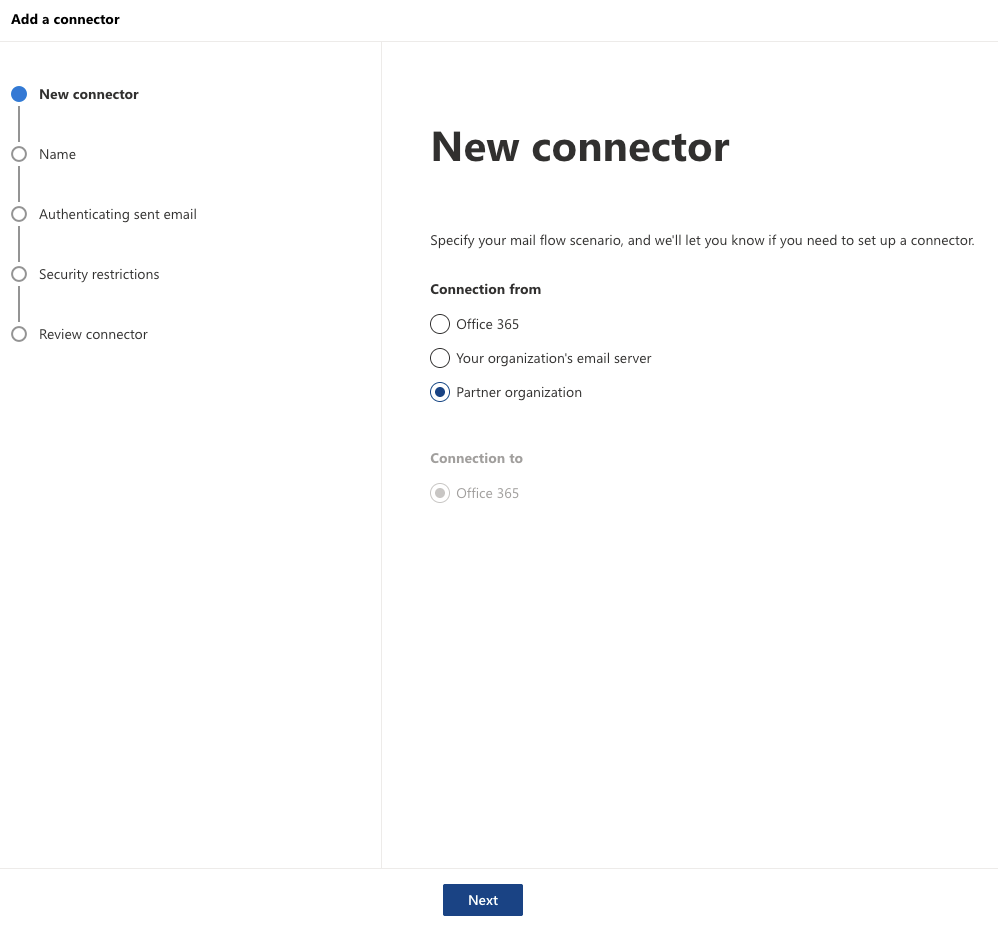
- In the Connection to field, Office 365 should be automatically selected. If it is not, select Office 365.
- Click Next.
-
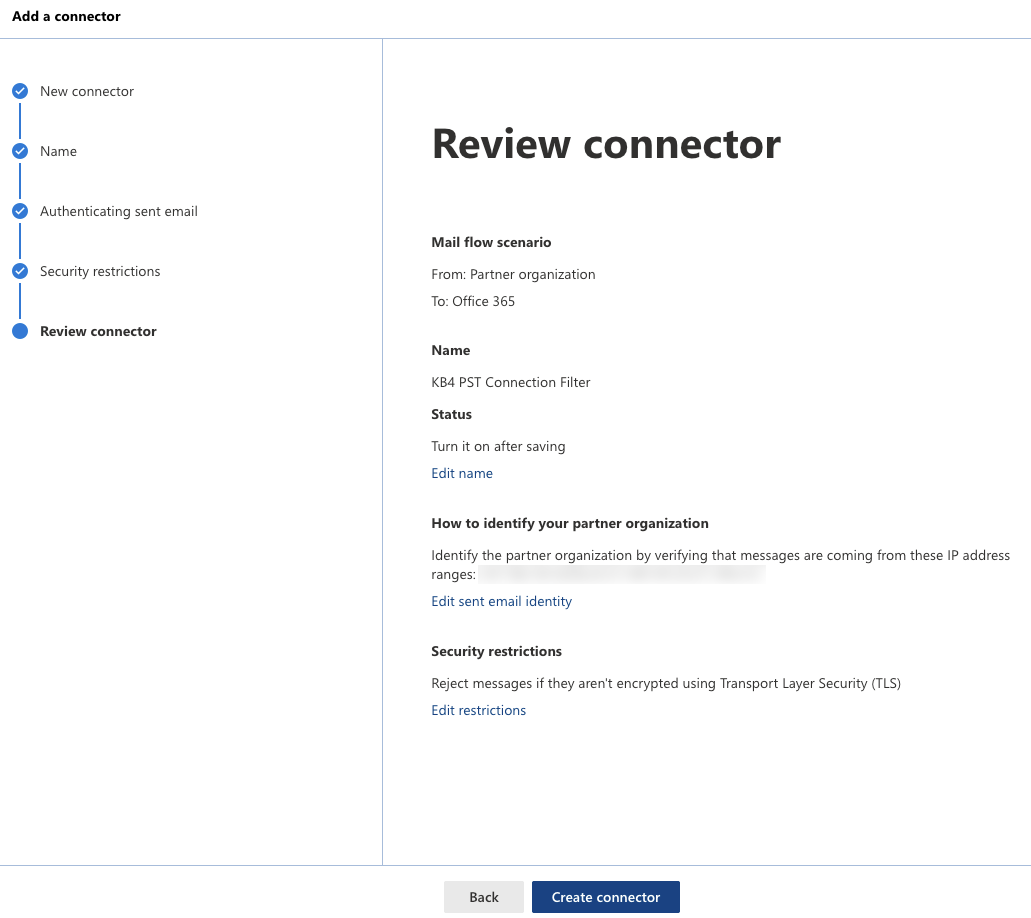
Now you will need to name the connector. We recommend naming it something identifiable, such as “KB4 PST Connection Filter”. You can also add a description if you would like.
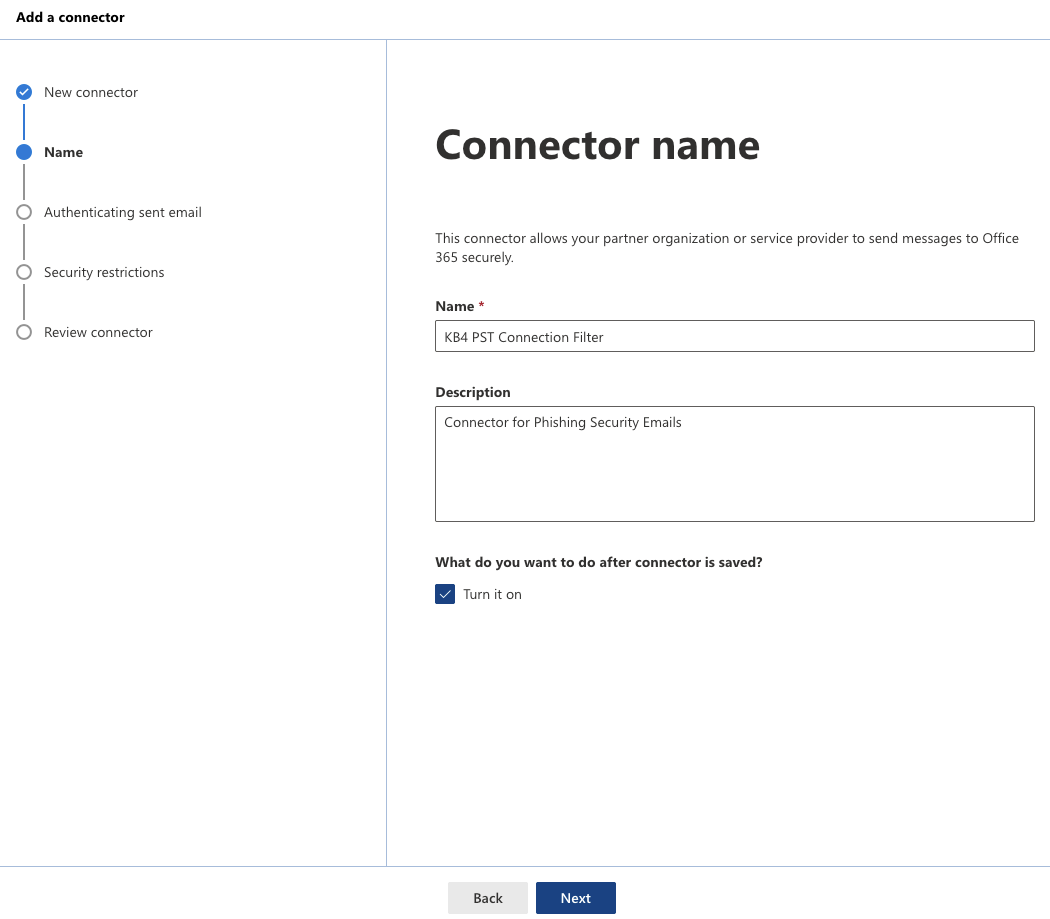
- Click Next.
-
Select the By verifying that the IP address of the sending server matches one of the following IP addresses, which belong to your partner organization option and then click Next.
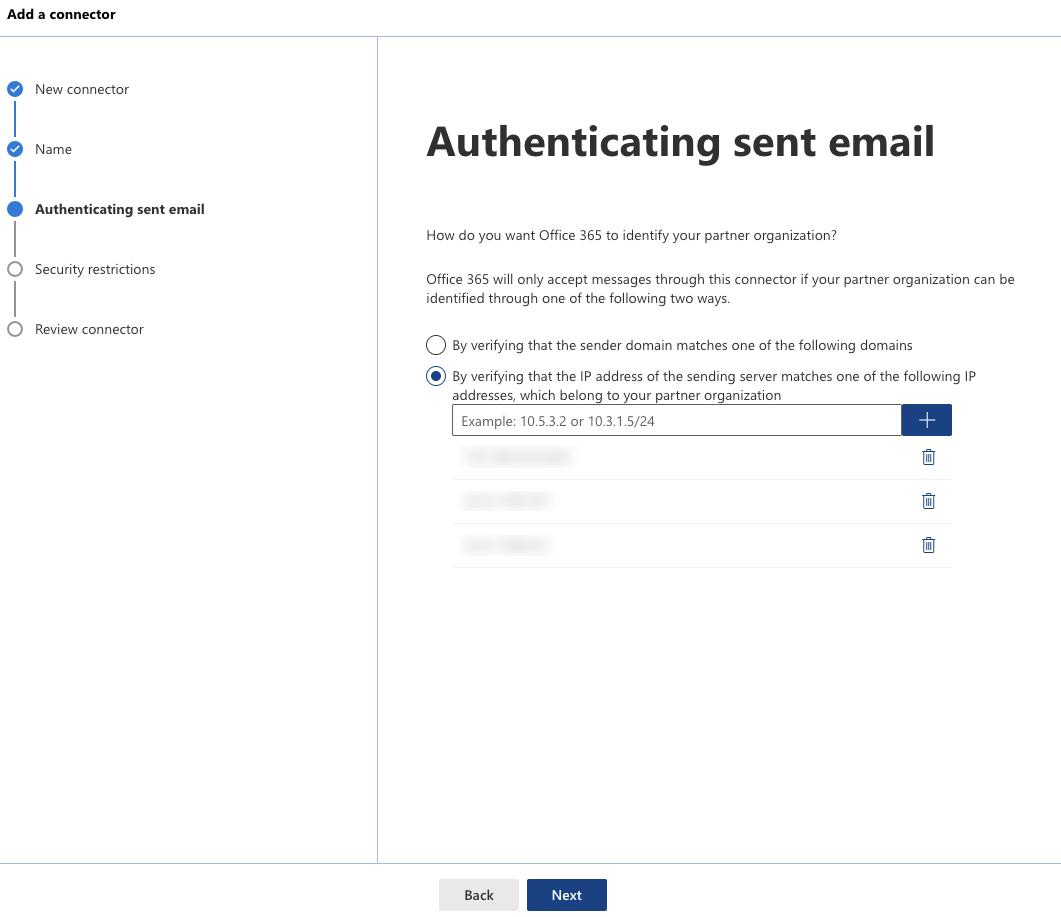
- Using our Whitelisting Guide for reference, add the IP addresses for your server: US, EU, or CA.
- Once you've added all of KnowBe4's IP addresses, click Next.
-
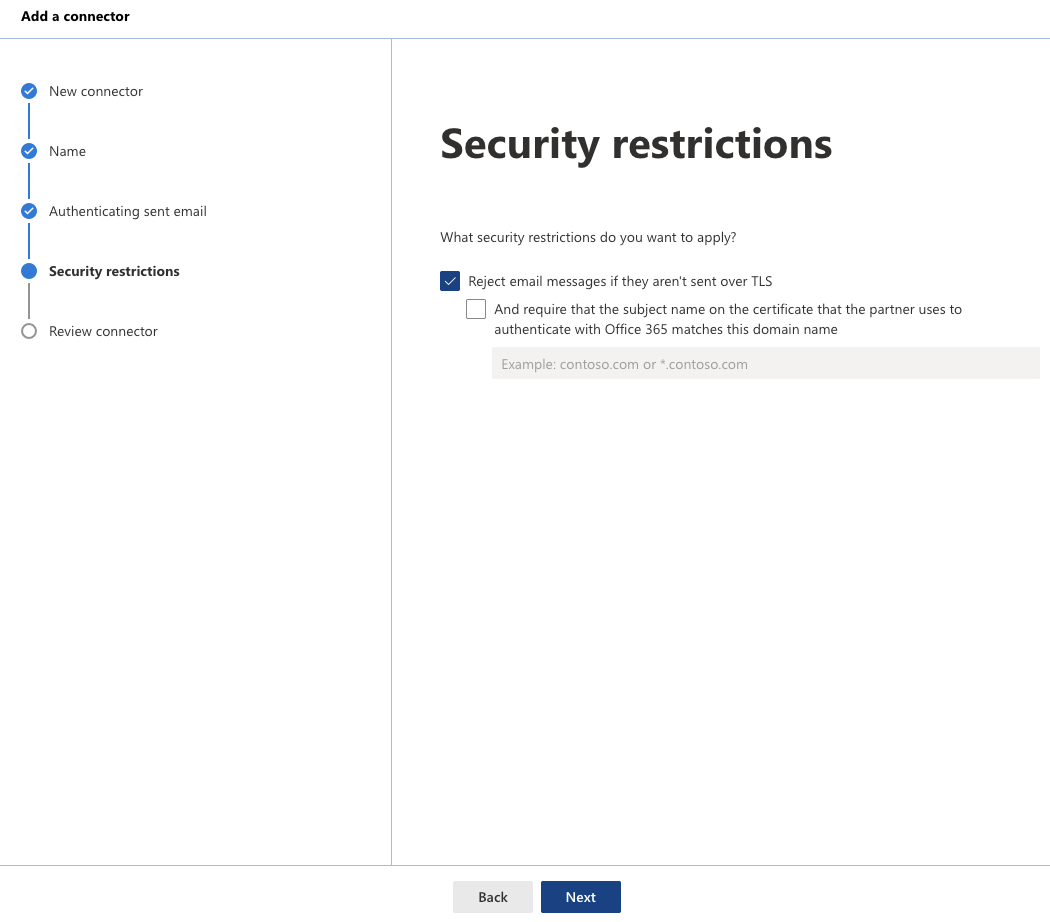
Select the Reject email messages if they aren't sent over TLS security option. This option ensures that only emails that are TLS-encrypted will be sent through. KnowBe4 sends all our emails over TLS for security purposes.
-
Click Next and review that your connector settings are correct, then click Create connector.
Whitelisting After Smart Hosting
Once you have set up your smart host connection and verified that it is connected, you’ll need to configure your whitelisting. Whitelisting recommendations will vary depending on your mail server. For further information regarding whitelisting, see our Whitelisting Guide. Additionally, our Whitelisting Wizard Whitelisting Wizard (link opens in new window) allows you to answer a series of questions about your mail flow in order to provide you with our most up-to-date whitelisting recommendations for your environment.