One of the top factors in securing your organization is empowering students to spot and navigate cybersecurity threats. Our KnowBe4 Student Edition training prepares students to navigate the digital world safely and responsibly. They will develop intelligent habits useful for your school and their future profession.
For best results, we recommend running a student campaign once a semester. Use the links below to get started.
Finding Student Edition Training Content
Before creating a training campaign, you must select the content to include. First, find Student Edition content in the ModStore. Then, add the desired content to your account’s library.
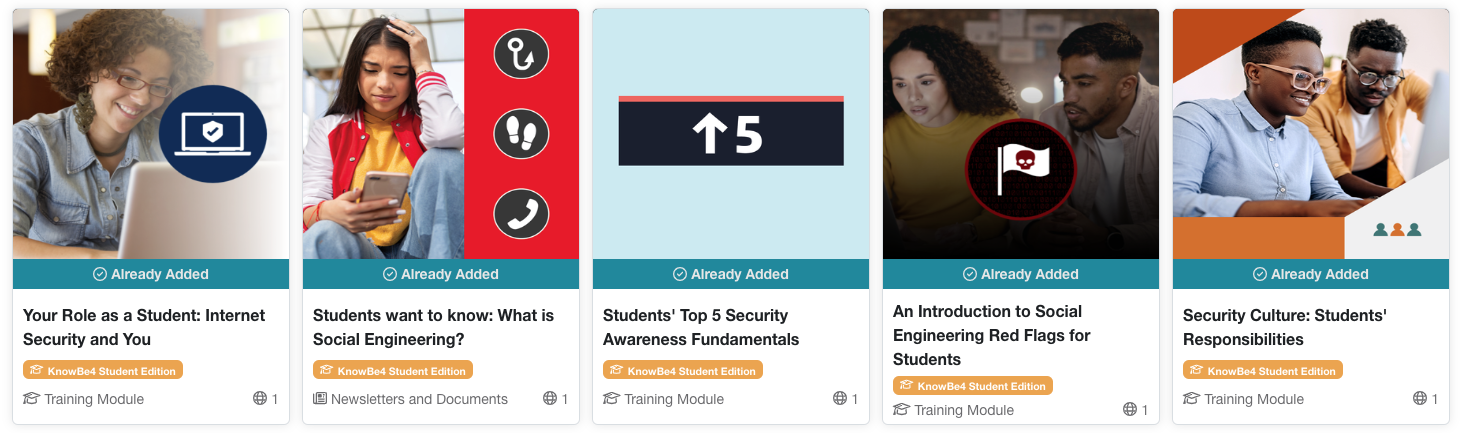
If you are browsing the ModStore, look for items with the orange KnowBe4 Student Edition badge under the title. If you would like to search for Student Edition content specifically, follow the steps below:
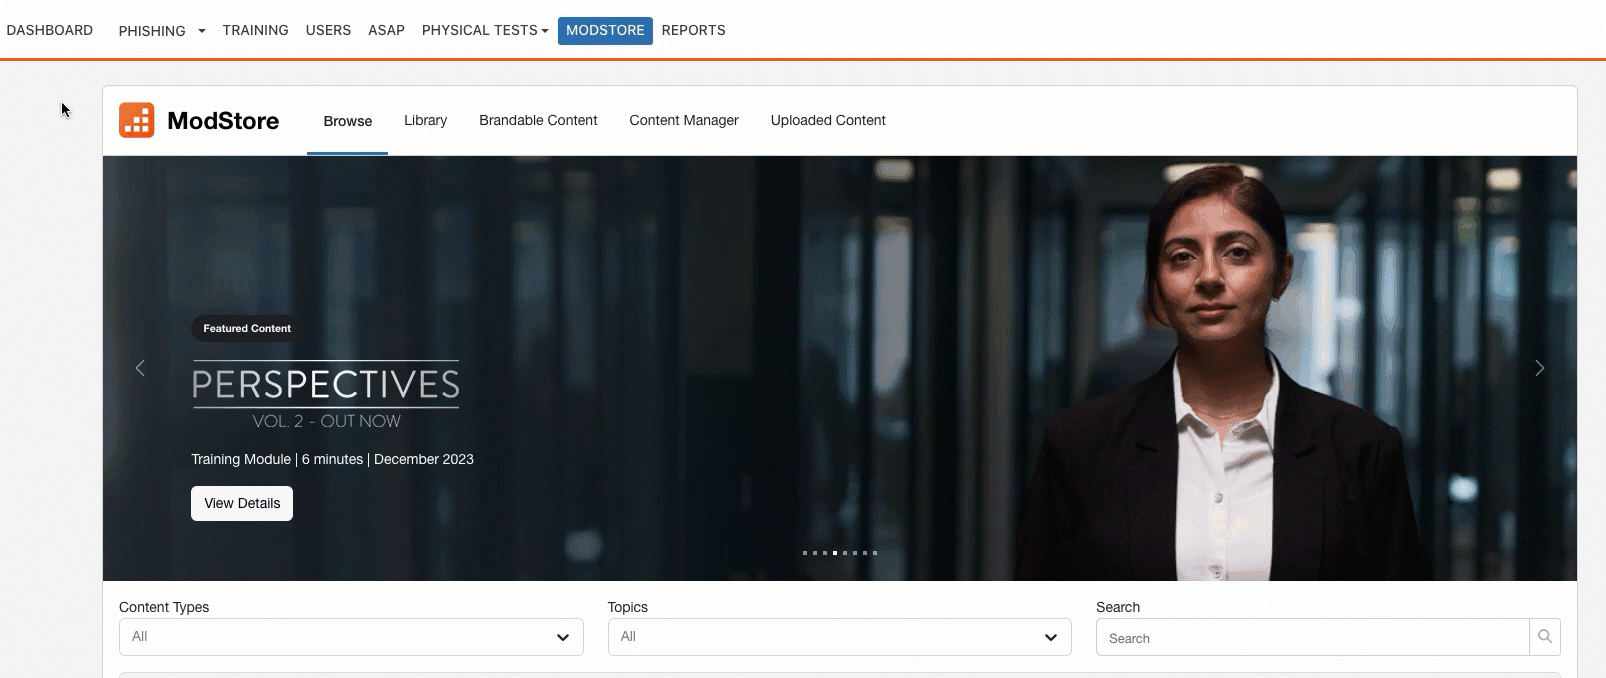
- Log in to your KSAT console.
- Navigate to the ModStore tab.
- On the Browse subtab, click on Additional Filters.
- From the Subscription Level drop-down menu, select KnowBe4 Student Edition to browse all content specific to the Student Edition add-on.
- If you find the content you want to use, you can hover your cursor over the image and click View Details for more information. On the item details page, you can read the full content description and view the content.
- To add the content to your library, click the + Add to Library button. Once added, the content will be listed in the Library subtab beneath the ModStore tab.
- If an item shows the Already Added tag, it is already available in your library and does not have to be added.

- If an item shows the Already Added tag, it is already available in your library and does not have to be added.
Once you have added all of the Student Edition training you would like to your library, you can move on to Creating a Student Edition Training Campaign.
Creating a Student Edition Training Campaign
Once you have added content to your library, you can create a student training campaign. While logged in to your KSAT console, navigate to the Training tab. Then, click the +Create Training Campaign button in the top-right corner of the page.
On the campaign creation screen that opens, use the list below to create a student campaign with our recommended settings.
-
Campaign Name: Name your campaign something descriptive, such as "Student Cybersecurity Training".
- This name will be seen by both admins and users completing the training.
- Start Date: Select when you would like this campaign to run.
- End Date: Select Relative Duration and use the default duration of three weeks.
- Allow assignments to be completed after due date: Select this check box.
-
Content: From the drop-down menu, select each of the training assignments you would like to include in this campaign.
- In this menu, you can scroll vertically and horizontally as well as sort the list by each header. You can also type a keyword into the field to filter content (click to view).

- Once you have selected the desired content, click out of the menu to view your content list. To reorder this list, click and drag the titles you want to move.
- In this menu, you can scroll vertically and horizontally as well as sort the list by each header. You can also type a keyword into the field to filter content (click to view).
- Enable Content Survey: We recommend selecting this check box so that users will be prompted to take a survey after each assignment they complete. This setting is optional, but enabling surveys will help you keep in touch with users and see the effectiveness of your training strategy.
- Track Scores: Select this check box. This option saves each of the user's scores for later review.
- Enroll Groups: Select Specific User. Then, select your student user group from the drop-down menu to enroll in this campaign. For more information about managing users and user groups, see the User Profile Guide.
- Enable automatic enrollment for new users: Select this check box. This option ensures that any users who are added to the selected groups at a later date will be enrolled in this training.
- For more information about managing users, see the User Profile Guide.
- Enable progress reset for remedial training: This option is only recommended for remedial training campaigns. So, be sure that this check box is not selected.
Notifications
We recommend creating notifications to welcome enrolled users and to remind them of the upcoming due date.
To create a welcome notification, follow the steps below: 
-
- Click the +Add Notification button.
- From the Notification Type drop-down menu, select Welcome.
- Select each check box next to User, Manager, and Admin.
- Keep the default templates selected in the drop-down menus next to each recipient type.
- Click the Save button.
Due Date Reminder
To create a due date reminder, follow the steps below: 
- Click the +Add Notification button.
- From the Notification Type drop-down menu, select Remind Before Due Date.
- Keep the default number of days before the due date.
- Check each check box next to User, Manager, and Admin.
- Keep the default templates selected in the drop-down menus next to each recipient type.
- Click the Save button.
Review your selected settings. When you are satisfied with the settings, click the Create Campaign button.
After creating the campaign, users will be enrolled in this training on the start date. Once the campaign has started, you can move on to Monitoring a Student Training Campaign.
Monitoring a Student Training Campaign
Follow the steps below to check your users’ training progress, scores, and other campaign metrics.
- Log in to your KSAT console.
- Navigate to the Training tab.
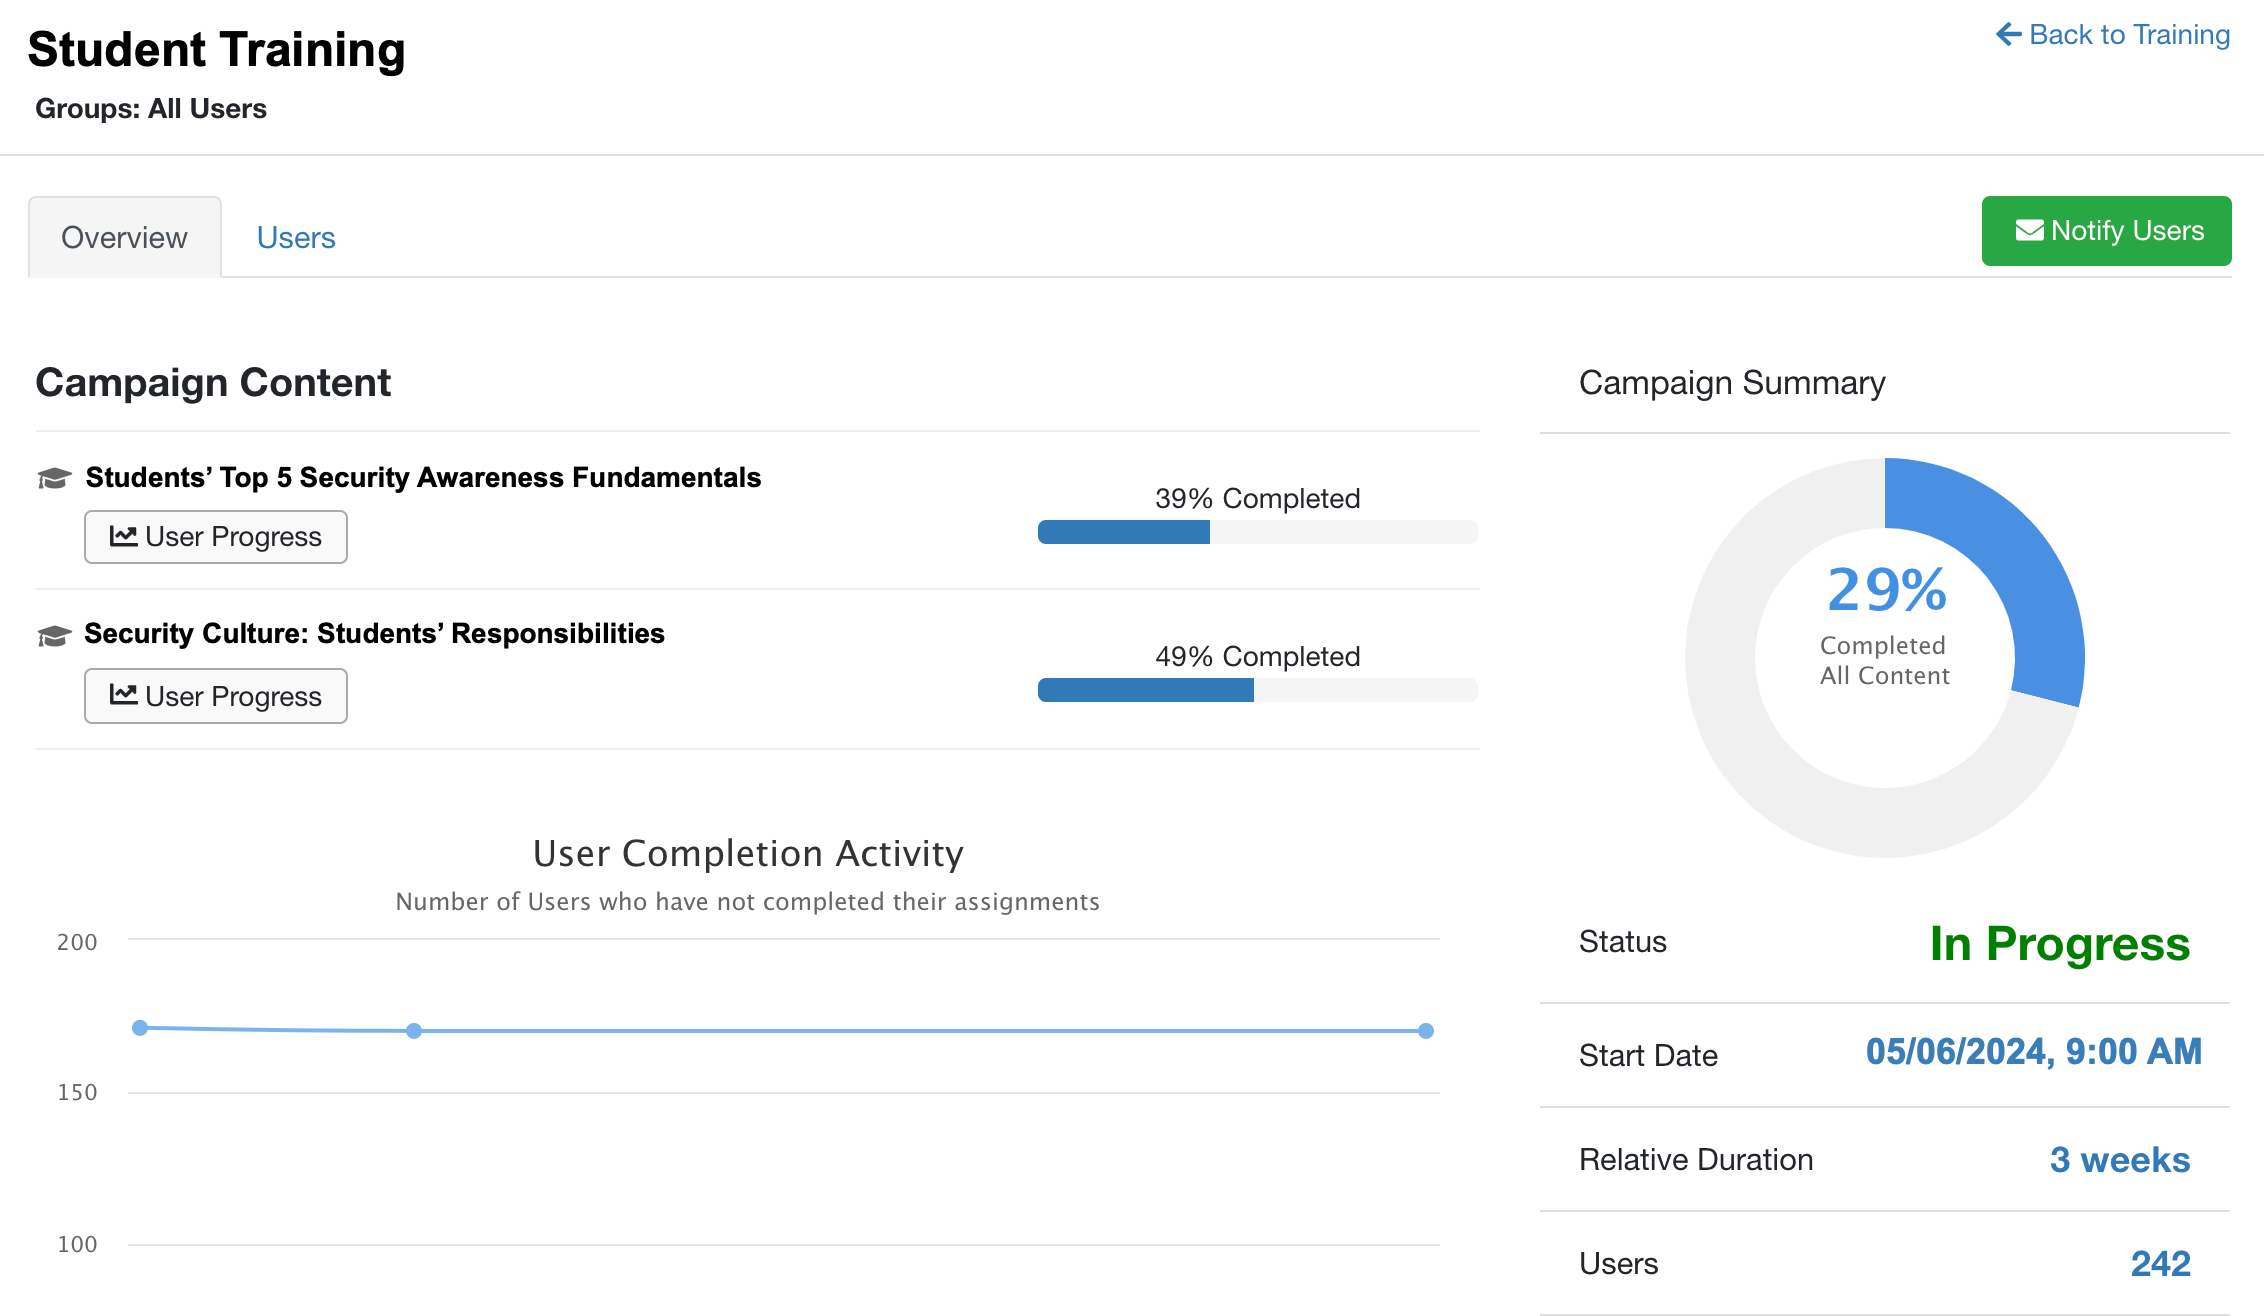
- On the Campaigns subtab, find the student training campaign that you created. Click on the campaign name.
- The campaign’s Overview subtab will display. On this tab, you will see a summary of the campaign, including a graph of users who have completed all of the content, the status, start date, relative duration, number of users, and more.
- Click on the Users subtab to view user progress for the entire campaign.

- This page is organized by subtabs, starting with All Users, then sorted by completion status.
- The table is sorted alphabetically by user name. Under each user is a list of their enrolled content. To the left of the content name, you can see if the training was started, if and when it was completed, the user’s score for that module, and their current training status.
- To find a specific user, enter their name or email address in the Search field.
At any point during the campaign, you can download a spreadsheet of the user's progress. On the Users subtab of the campaign, click the Generate CSV button.