This article shows you how Monitoring Mode works in Defend for Google Workspace, how to pilot it with select users, and how to disable it for your whole organization. Monitoring Mode is available for organizations using the Google Workspace integration.
Monitoring Mode allows Defend to scan and classify every email across your organization without showing any user-facing features. While Monitoring Mode is active, the following occurs:
- All emails are scanned and classified by Defend.
- Threat notifications are not sent to end users.
- Automated Gmail label actions, such as skip the inbox, move to spam, or move to trash, are not applied.
Monitoring Mode in Settings
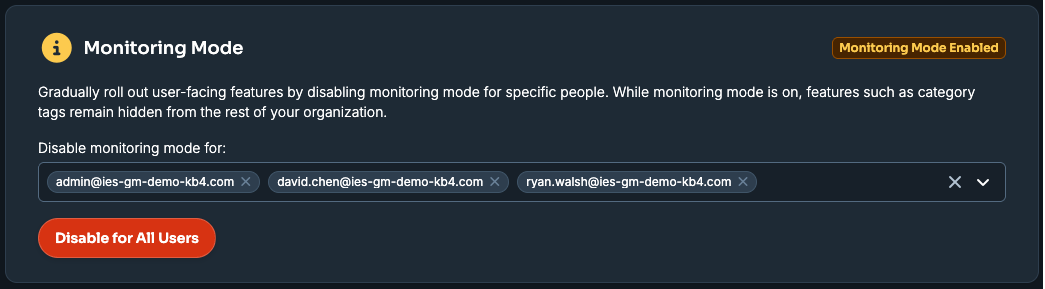
When Monitoring Mode is active, a yellow Monitoring Mode Enabled banner will display at the top of the Settings page in the Defend admin console.
Pilot Monitoring Mode with Specific Users
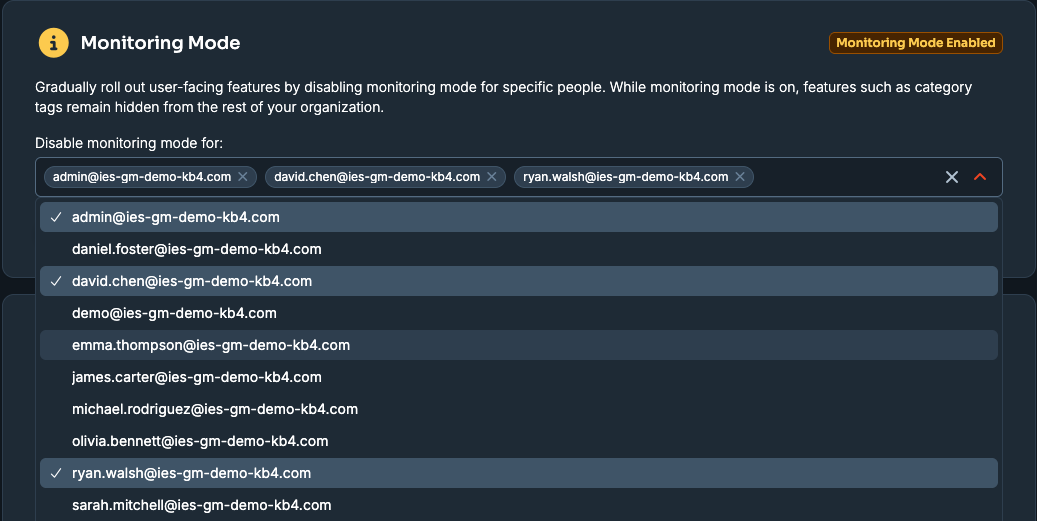
You can roll out Defend's user-facing features to specific users before you enable those features for your entire organization. Use the Disable monitoring mode for: drop-down menu on the Settings page to search for and add users by their name or email address.
Keep the following in mind when you use this option:
- Users you add to this list will have Defend settings applied to them.
- All other users remain in Monitoring Mode.
- You can add up to 100 users in total to this pilot list.
- Search returns users who match across all verified domains in your Google Workspace account, not just your primary domain. This feature works the same way whether your organization has one domain or several.
- The search field is available as soon as your domain-wide delegation is verified.
- There is no separate consent step to complete before you can search for and add users.
- Search returns up to 25 matching results at a time. If you don't see the user you're looking for, narrow your search by typing more of their name or email address.
Piloting is useful when you want to do the following:
- Brief a small group of early adopters before your wider rollout.
- Run an internal pilot with your IT or security team.
- Validate the wording of threat notifications and label actions before you communicate the change to your organization.
Planning Your Rollout
Before you disable Monitoring Mode for all users, we recommend that you perform the following steps:
- Run a pilot: Use the Disable monitoring mode for: search field to test the experience with a small group first.
- Review the Defend dashboard: This shows you the volume and types of threats Defend detects.
- Communicate to your users: Explain what threat notifications are and what action your users should take when they see one. Users may not need to take any action.
- Confirm you are ready: Disabling Monitoring Mode for all users is permanent, so confirm with your stakeholders before you proceed.
Disabling Monitoring Mode for All Users
When you're ready to enable Defend's user-facing features for your entire organization, follow the steps below.
- In the Defend admin console, click the Settings tab.
-
On the Monitoring Mode card, select the Disable for All Users button.
-
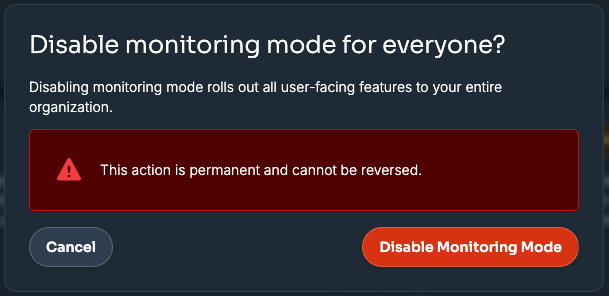
A confirmation pop-up window will display. Review the information in the dialog box, then select the Disable Monitoring Mode button to confirm.