Defend integrates with EasyDMARC to give you DMARC monitoring and steps to secure your Microsoft 365 domains from the Defend Settings page. When you start this process, KnowBe4 automatically creates an EasyDMARC trial account for your organization if one doesn't already exist.
Before You Begin
You will need the items below before you begin:
- You must have admin access to your organization's DNS settings to complete the DNS record step.
- This feature is available to Defend admins only.
- Only Microsoft 365 domains are supported in this release.
Step 1: Open the EasyDMARC Domains Pop-up Window
Follow the steps below to open the EasyDMARC domains pop-up window:
- In Defend, go to Settings.
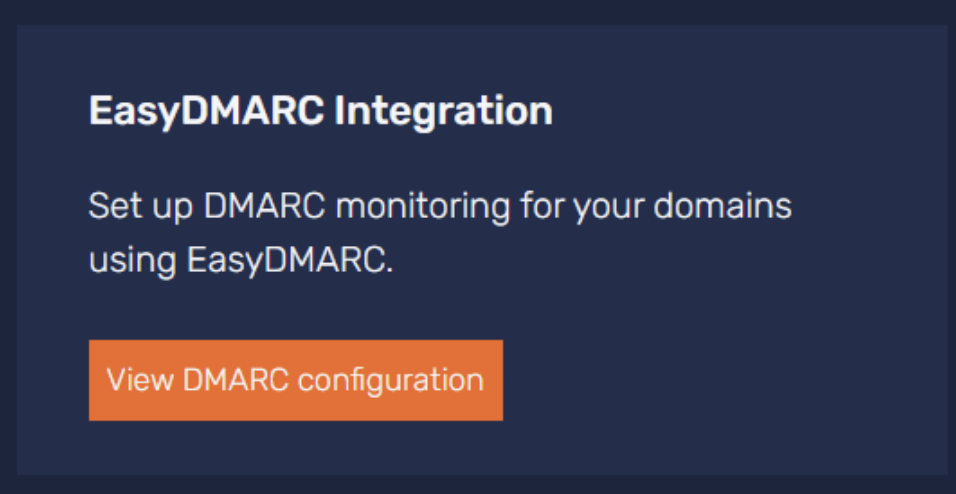
- Locate the EasyDMARC Integration section.
-
Click View DMARC configuration.
If this is your first time accessing the integration, a pop-up window will display:
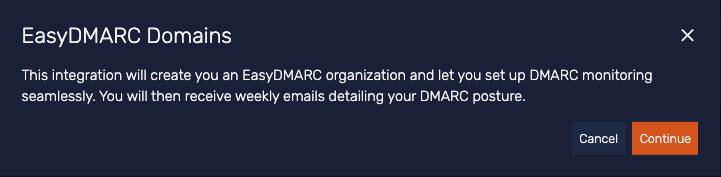
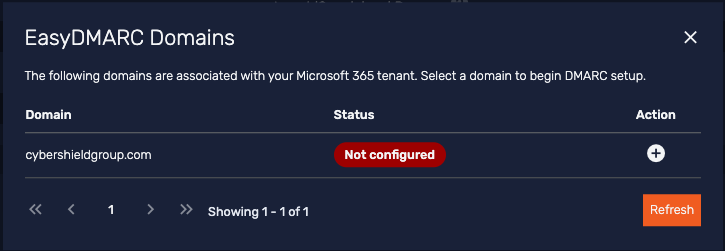
- Click Continue. The EasyDMARC Domains pop-up window opens and lists all Microsoft 365 domains associated with your account. During your 14-day trial, you can add up to four domains.
Step 2: Review Domain Status
Each domain in the pop-up window shows one of the following statuses:
- Not configured: The domain has no DMARC record and is not enrolled in monitoring.
- Partially configured: The domain has an existing DMARC record that needs the EasyDMARC RUA tag to be added.
- Protected: The domain is enrolled and actively monitored.
Click the plus icon next to a domain with the status Not configured or Action required to begin setup.
Step 3: Publish the DNS Record
The Setup screen that opens depends on whether the domain already has a DMARC record.
If the domain has no existing DMARC record
The Setup screen displays a new DNS record for you to add to your DNS provider.
To publish the DNS record with no existing DMARC record, follow the steps below:
- Copy the Host and Value fields from the pop-up window.
- Sign in to your DNS provider.
- Add the record with the copied values.
- Return to the Defend console. When DNS generation is complete, the setup screen confirms that DMARC monitoring is active (see Step 4).
If the domain already has a DMARC record (Partially Configured)
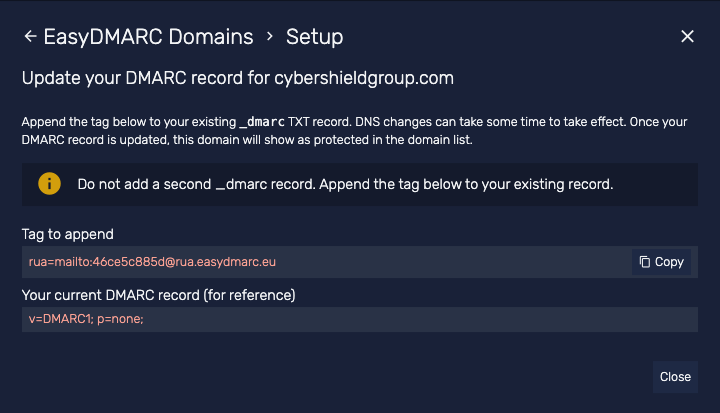
The domain status shows as Partially Configured. Clicking the action button opens the Setup screen titled Update your DMARC record for [domain name], which displays a tag to add to your existing record.
Note: Do not add a second _dmarc record. Add the tag below to your existing record.
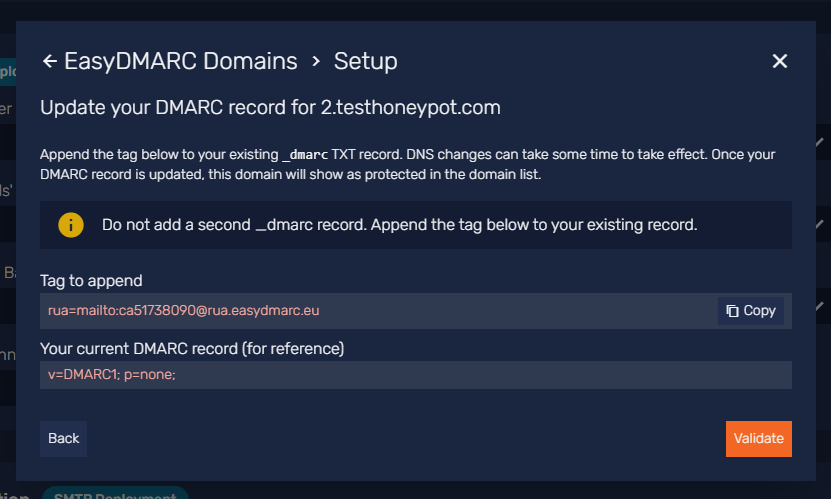
To publish the DNS record with an existing DMARC record, follow the steps below:
- Under Tag to append, click Copy.
- Sign in to your DNS provider.
- Open your existing _dmarc TXT record.
- Append the copied tag to the end of the record value.
- Return to the Defend console and click Close.
The pop-up window also displays your current DMARC record for reference. DNS changes can take some time to take effect. Once your record is updated, the domain will display as Protected in the domain list.
Step 4: Confirm Setup
When DNS propagation is complete, the setup screen displays: "DMARC monitoring is now active for [domain name]." Click Done to return to the EasyDMARC Domains pop-up window.
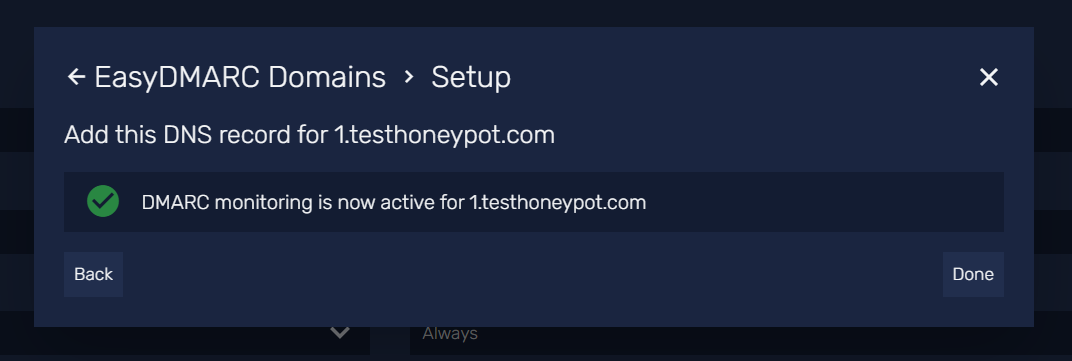
The domain status updates to Protected. Watch for an invitation email from EasyDMARC, and log in by accepting it to access your DMARC reporting. After your 14-day trial ends, an EasyDMARC sales representative will contact you to discuss which subscription fits your needs.
Troubleshooting
If you have any issues, see the items below for troubleshooting:
- The domain status has not updated after DNS changes: DNS changes can take some time to take effect. Verify that the record was saved correctly. Check for typos in the tag value and confirm you appended it to the existing record rather than creating a new one. Click Refresh in the EasyDMARC Domains pop-up window to check the current status.
- A domain does not appear in the pop-up window: Only Microsoft 365 domains connected to your KnowBe4 account appear in the list. Confirm the domain is added in your Microsoft 365 admin center.
- The EasyDMARC Integration section does not appear in my settings: This feature is enabled per account during rollout. Contact your Customer Success Manager if you do not see it in your settings.
- I never received the EasyDMARC activation email: Check your spam or junk folder first. If you still don't see it, contact EasyDMARC support for help logging in to your account.