Note: This article has recently been added to our Knowledge Base. Thank you for your patience as we continue to make improvements.
This article provides a guide to enabling the Direct Email feature for a Workspace zone. By setting up a dedicated email address, you enable all authorized users to easily upload files directly to the zone by simply sending an email attachment. This capability streamlines the file-sharing process within your Workspace.
Emailing files to a zone means all permitted users of the zone can upload files there via the dedicated address.
Note:Direct email is an opt-in feature and may not currently be available for your organization.
To enable emailing files directly to a zone, follow the steps below:
-
In your Workspace, select the Direct Email tab in a zone. This tab is represented with the envelope icon.
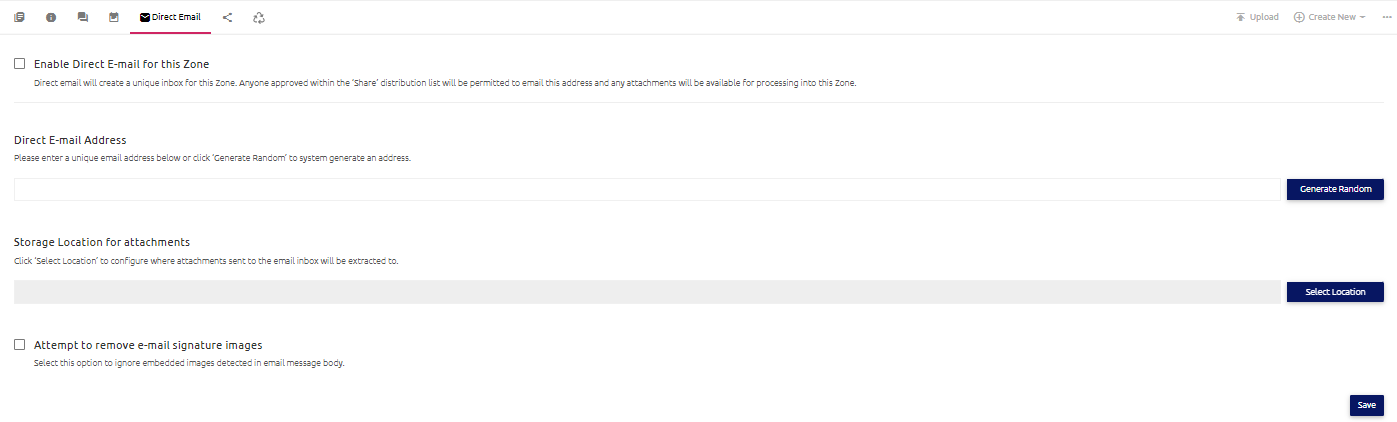
- Select the Direct Email check box.
- Assign a unique email address to the zone, or click Generate Random to have an email address created for you. If you choose to generate an email address, it will provide a two-word phrase in the form "email.name". The full email address generated in this way will be email.name@workspacename.egresscloud.com.
- Click Select Location to choose the destination folder for your uploaded files.
- To try and automatically prevent the uploading of small signature images from your email, check the Attempt to remove email signature images check box.
- Click Save. You can now email files to your zone using the assigned address.