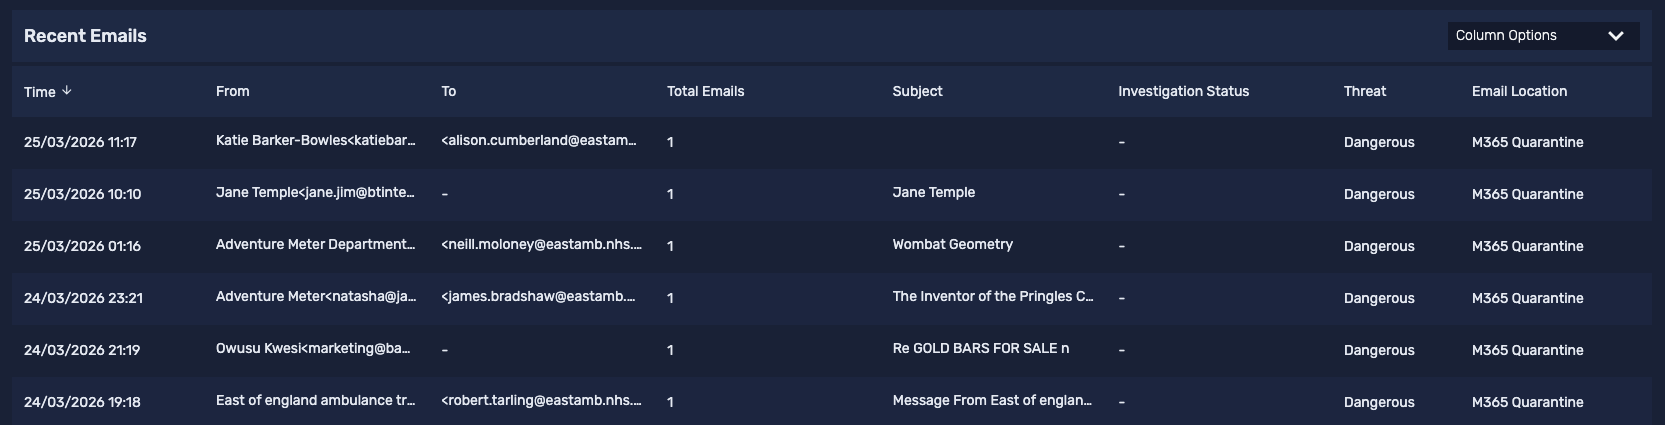
The Recent Emails page in the Defend admin console allows admins to view and analyze all emails processed by Defend. This article explains how to use the filtering options, view email details, and take necessary actions.
Date Selection
At the top of the Recent Emails page, use the date picker to specify the time period for which you want to view emails.

Filters
By default, the Dangerous and Exclude Phishing Simulation Tests filters are applied. The following filters can be used individually or in combination to refine your email search.
Campaign Mode
The Campaign Mode toggle allows you to group similar emails together into campaigns. Instead of viewing each email individually, you can use this toggle to identify and manage groups of emails that share the same message properties. This helps you quickly remediate large volumes of dangerous emails that are part of a single coordinated attack. For more information, see our How Campaign Mode Works article.

When Campaign Mode is active, the Recent Emails table will update to summarize campaign data. If a campaign contains multiple unique values for a field, the cell will display a summary. You can hover over these summaries to see the first 10 unique values.
The Total Emails column will show the total number of emails included in that specific campaign. This number may differ from the number in the To column if the campaign has been active for more than the selected time frame. When you click on a campaign in the table, a window will appear with the Basic tab. This tab allows you to view email information and take action on the entire campaign at once.
Basic Filters
The fields you can use for these filters are listed below:
- Internet Message ID: Search for a specific email using its unique identifier
- Subject: Filter by email subject line
- From: Filter by the sender's display name or email address
- Mail From: Filter by the sender's envelope address
- To: Filter by the recipient's display name or email address
- Recipient/Rcpt To: Filter by recipient's envelope address

User Interactions Filters
The options you can select for these filters are listed below:
- Link clicked
- Email response
- Phish reported
- Not phish reported

Threat Classification
The options you can select for these filters are listed below:
- Dangerous
- Suspicious
- Dangerous & Suspicious
- All
Please note that selecting the All option will include benign emails.

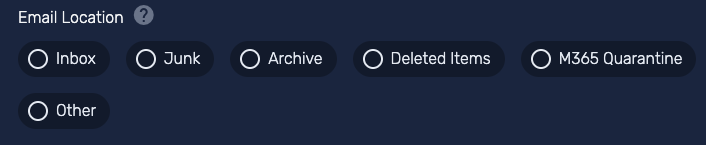
Email Location
The options you can select for these filters are listed below:
- Inbox
- Junk
- Archive
- Deleted Items
- M365 Quarantine
- Other
Phishing Simulation Tests
There is only one option in this filter that is selected by default:
- Exclude Phishing Simulation Tests
Advanced Filters
The options you can select for these filters are listed below:
- Remediation Status
- Payload Type
- Microsoft SCL
- Email Productivity
- Phish Type
- Email Authentication
- From Exclusions
- High Confidence Phish

Wildcards
Wildcarding can be used within the filter text fields to offer more granular searching. Use an asterisk before or after your text. For example, to return all results from example.com addresses, search for "*@example.com" in the From text box.
Saved Filters
The Recent Emails page allows you to save custom filter configurations for quick access. You can create up to five saved filters to streamline your investigation workflow.
To create a saved filter, follow the steps below:
- Navigate to the Recent Emails page.
- Select the filters you wish to apply.
- Click Save current filter.
- In the pop-up window, enter a Name for your filter.
- Select the Set as default check box if you want these filters to be applied automatically every time you visit the Recent Emails page.
- Click Save.
Managing Saved Filters
Once filters are saved, you can access and manage them using the following features:
- Default filter: Your specified default filter will be marked with a star icon next to its name. If Clear Filter is selected, the page will revert to the saved default filter. If no default is selected, it will revert to Defend’s default settings.
- Switching filters: Select any saved filter to instantly apply that set of filters.
- Edit or Delete: Select the Manage button to rename, edit, delete, or change the default filter.
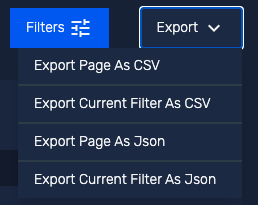
Exporting Search Results
The Recent Emails page offers multiple options for exporting filtered email data:
- Export Page As CSV
- Exports only the emails displayed on the current page
- Data is exported in CSV format
- Export Current Filter As CSV
- Exports all emails matching your current filter criteria
- Data is exported in CSV format
- Export Page As JSON
- Exports only the emails displayed on the current page
- Data is exported in JSON format
- Export Current Filter As JSON
- Exports all emails matching your current filter criteria
- Data is exported in JSON format
Column Options
The Recent Emails page displays four columns by default:
- Time
- From
- To
- Threat
You can customize which columns appear using the Column Options drop-down menu. Your selected preferences will be saved and applied each time you return to this page.
Email Details Pane
When you select an email from the list, a detailed pane opens on the right side of the screen. This pane contains five tabs, which are discussed below.
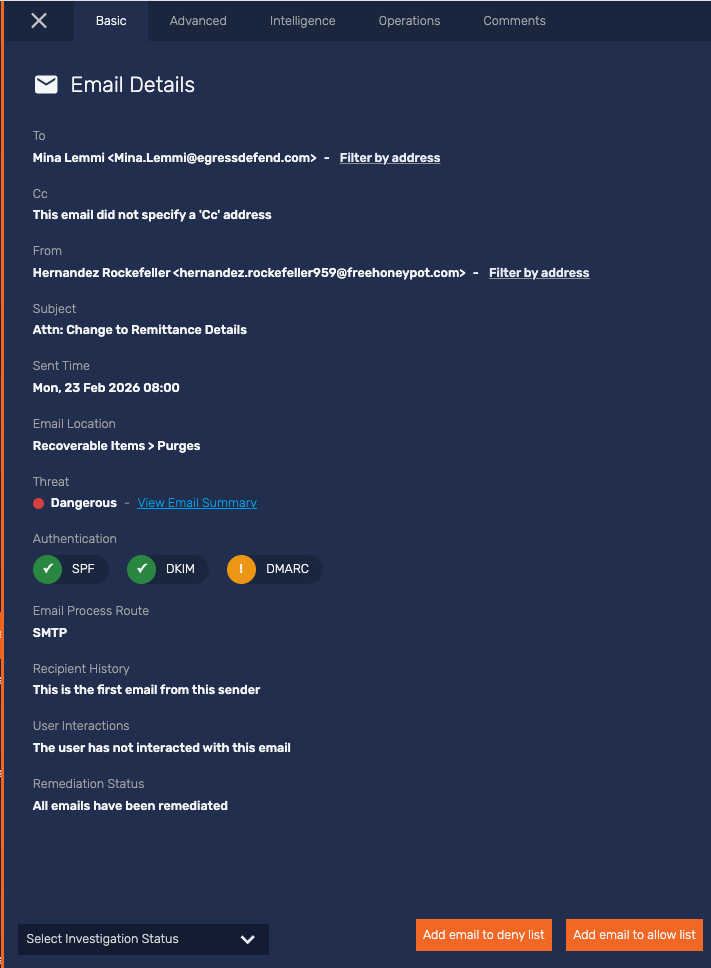
Basic Tab
The Basic tab displays key information such as sender and recipient information, email location, authentication results, and user interactions.
The available actions in this tab are:
- View the Email Summary page
- Set Investigation Status
- Add email to deny list
- Add email to allow list
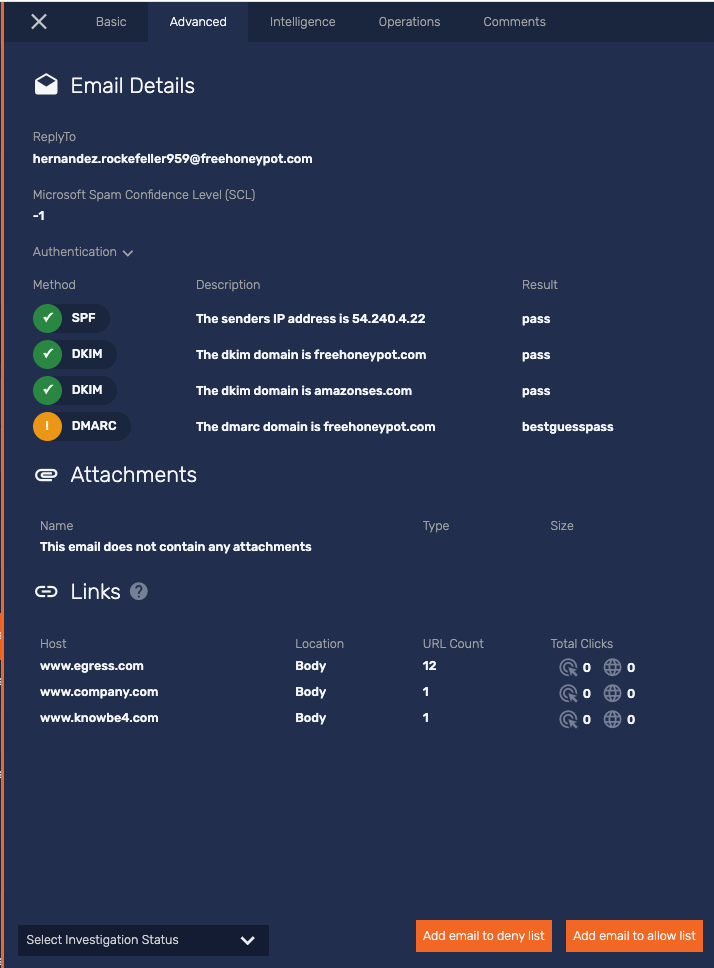
Advanced Tab
The Advanced tab displays detailed information such as extended sender and recipient details, comprehensive email location data, complete authentication results and details, email attachment information, and email link analysis.
The available actions in this tab are:
- Set Investigation Status
- Add email to deny list
- Add email to allow list
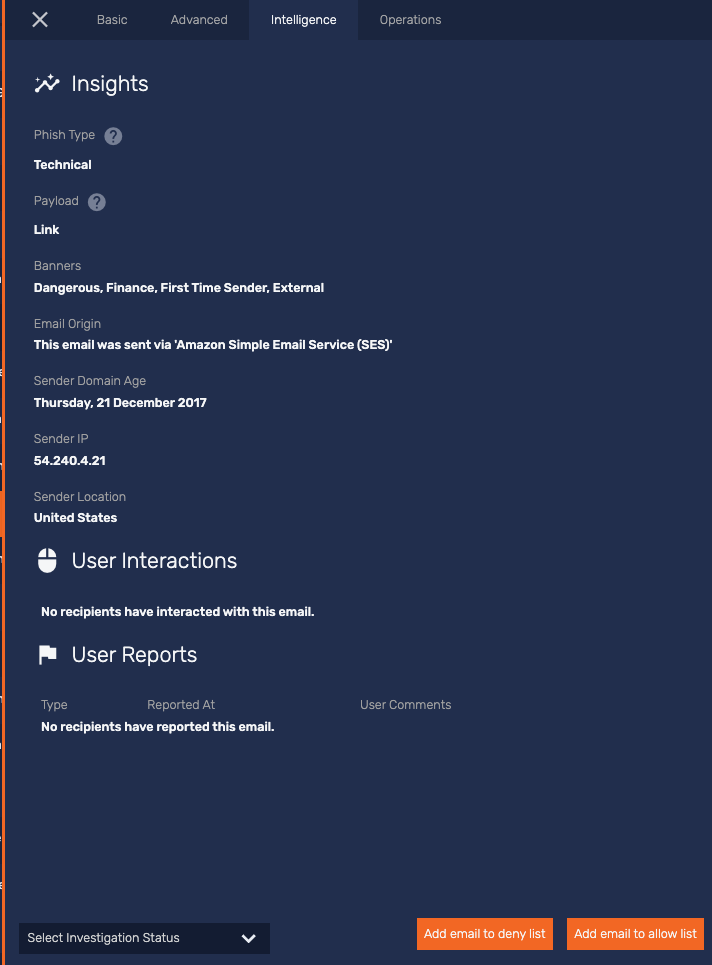
Intelligence Tab
The Intelligence tab displays the information gathered by Defend for this email, such as phish classification, the payload detected, the Defend banners added to the email, and sender location details. Communication history between the sender and recipient is also displayed. The user interactions and user report sections show how the user has interacted with the email and whether they have reported the email in any way.
The available actions in this tab are:
- Set Investigation Status
- Add email to deny list
- Add email to allow list
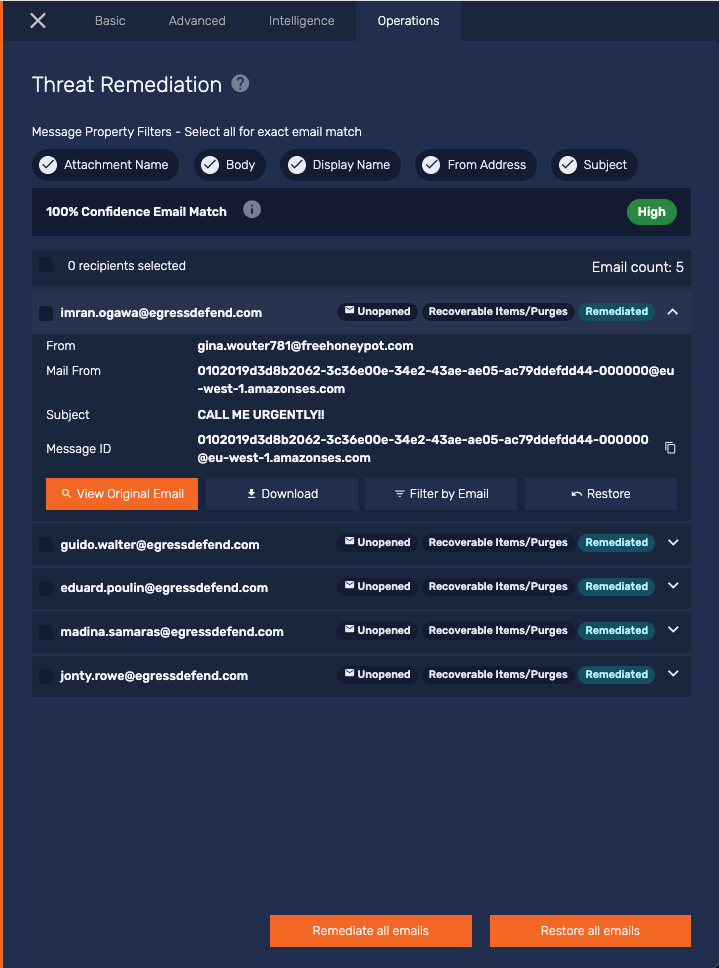
Operations Tab
This tab displays information retrieved using the integration between Microsoft 365 and Defend. All recipients who have received this email will be displayed, along with the email’s location. The Threat Remediation section allows you to view and remediate exact and similar emails sent to other users.
The available actions in this tab are:
- Adjust message property filters for broader remediation
- Remediate Selected Emails
- Remediate All Emails
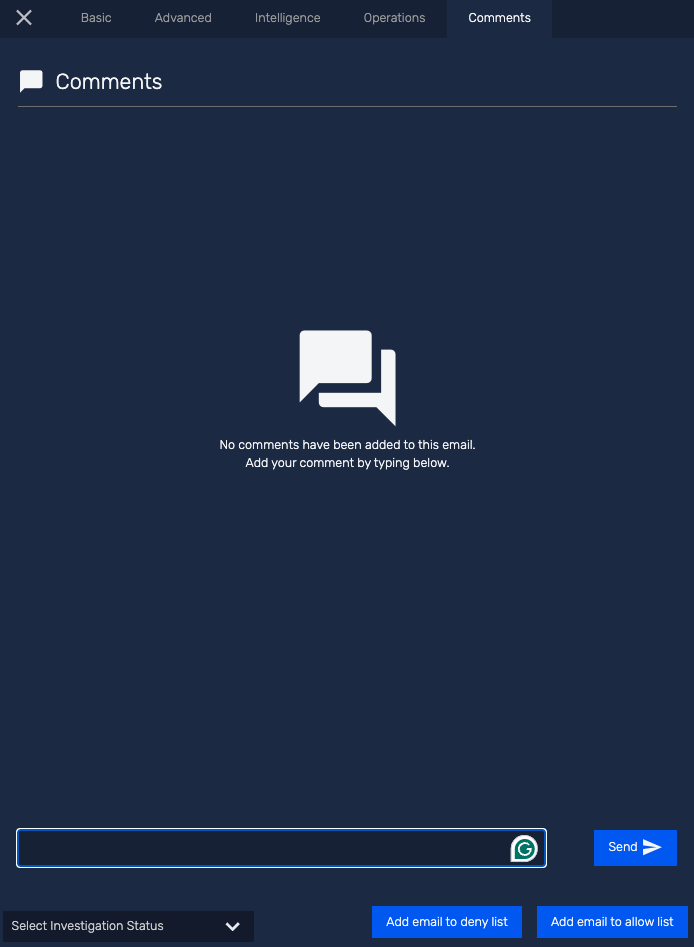
Comments Tab
Defend admins can add comments to an email to collaborate and discuss an investigation or email status. Investigation status changes can be viewed live in the comments feed.
The available actions in this tab are:
- Set Investigation Status
- Add email to deny list
- Add email to allow list