In the KCM GRC Vendor Risk Management module, you can centralize your third-party risk management processes. You can use questionnaires to determine the level of risk that vendors and third parties pose for your organization. Questionnaires can help you learn about the vendor or third party and the amount of data they will need to access.
Before you can send questionnaires to your users, you will need to create and configure the questionnaires in your platform. To create a questionnaire, you can add questions from our questionnaire templates or add your own custom questions.
See the sections below to learn how to create, configure, finalize, and clone questionnaire assessments.
What Type of Questionnaire Should I Create?
As part of your vendor or third-party risk management program, you will need to identify the types of questionnaires you want to create. You should base your questionnaires on the requirements your organization needs to meet, the frameworks your organization needs to follow, and the types of data your vendors may need to access.
If you need help deciding which questionnaire template to use, Standardized Information Gathering (SIG) questionnaires are more general than Consensus Assessments Initiative Questionnaires (CAIQ). CAIQ questionnaires are more specific for vendors that offer cloud services. The Full versions of these questionnaires cover a wider range of topics than the Lite versions of questionnaires. If you think that the level of risk associated with a vendor will be low, you may determine that you only need to use the Lite version. However, if you think that the level of risk associated with a vendor will be moderate or high, you may determine that you need to use a Full version. If you're unsure what types of data the organization will need to access and can't predict the level of risk associated with the vendor, the Full version of a questionnaire may help you gain a more comprehensive understanding than the Lite version.
Creating Questionnaires
After you have decided what type of questionnaire to create, you can create your questionnaire from the Questionnaires tab of your platform.
To create a questionnaire, follow the steps below:
- From your navigation panel, navigate to Vendor Management > Questionnaires.
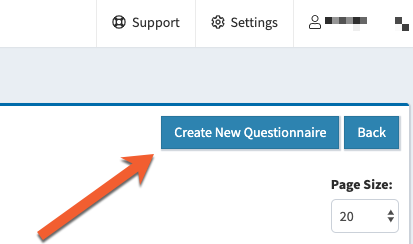
- Click the Create New Questionnaire button at the top-right corner of the page.
- Fill out the fields on the New Questionnaire page. For more information, see the list below:
Note: We recommend that you avoid including the < and > special characters in these fields.
- Name: Enter a name for your questionnaire. This name will display in the email notification that the vendor will receive when you send them the questionnaire. The name will also display in the Vendor Portal when the vendor logs in to KCM GRC.
- Description: Enter a description for your questionnaire. The description will only be visible to Vendor Administrators and Account Administrators.
- Type: Select Public for external vendors or Internal for internal vendors.

- Click the Next button.
- Add questions to your questionnaire by using our questionnaire templates or by adding custom questions. For more information, see the related articles listed below:
- Configure the questions in your questionnaire. Depending on whether the questions are from questionnaire templates or are custom questions, see the articles listed below:
Sorting Questions
When you create a questionnaire, the questions will automatically be listed in the order you add them to the questionnaire. Before you mark your questionnaire as Reviewed, you can sort the questions in any order that you would like.
To sort the questions in a questionnaire, follow the steps below:
- From the questionnaire builder, navigate to the question that you would like to move.
- Click the Adjust Question Order field next to the question.
- Either click the arrow buttons or enter a number into the field to specify the new position of the question.
Important: If you are using Microsoft Edge, the arrow buttons will not display in this field. Therefore, you will need to click the field and enter a number instead of using the arrow buttons.

- Press the Enter key on your keyboard to save the new position. When you click this button, the question will automatically be moved to the new position.
Note: The question that was previously in that position will automatically be moved to the following position. For example, if question A is in the 7th position and you move question B to the 7th position, question A will be moved to the 8th position.
Reviewing and Finalizing Questionnaires
As a final step before you can send a questionnaire to vendors, a Vendor Administrator or an Account Administrator will need to mark the questionnaire as Reviewed.
To review and finalize a questionnaire, follow the steps below:
- From your navigation panel, navigate to Vendor Management > Questionnaires.
- From the Name column, select the questionnaire that you would like to review.
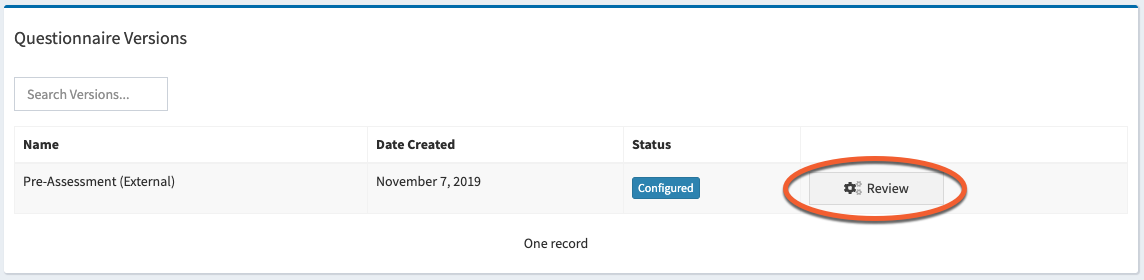
- In the Questionnaire Versions section of the page, click the Review button.
- Navigate through the questions in the questionnaire by selecting each of the question sets on the left side of the page. If the questionnaire contains questions from a questionnaire template, click the arrows next to the name of the questionnaire template to expand the list of sections that are in the template.
- Review the questions and the points that are assigned to each question.
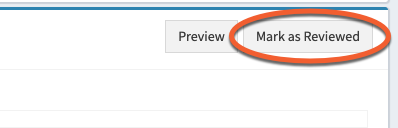
Tip: As an alternative to reviewing the questions from the Update Questionnaire page, you can click the Preview button to view the template from a similar perspective to how the vendor will see the questionnaire.
- After you review all of the questions, click the Mark as Reviewed button in the top-right corner of the page. When you click this button, the questionnaire will be in the Reviewed status.
Now, you can send the questionnaire to your vendors. To learn how to send the questionnaire, see our How to Send Questionnaires to Vendors article.
Cloning Questionnaires
Once a questionnaire is marked as Configured, you can clone the questionnaire to make a duplicate copy. You can then modify the cloned questionnaire as needed.
To clone a questionnaire, follow the steps below:
- From your navigation panel, navigate to Vendor Management > Questionnaires.
- From the Name column, select the questionnaire that you would like to clone.
- In the Questionnaire Versions section of the page, click the Clone button.

- In the confirmation window that opens, click the Yes button to clone the questionnaire. When you click this button, the Update Questionnaire page of the cloned questionnaire will open.
Tip: The cloned questionnaire will have the same name as the original version with "-Cloned" added at the end. If you would like, you can change the name of the cloned questionnaire in the Name field.
From the Update Questionnaire page, you can edit questions, change the number of points assigned to questions, and add additional questions to your questionnaire.