If you own additional domains that aren’t connected to your KSAT console, you can add these domains to your console. Then, you can send simulated phishing tests and assign training to users who have email addresses at those domains.
Prerequisites
Before you can add a domain to your KSAT console, make sure you meet the following prerequisites:
- You own or control the domain.
- You can whitelist emails sent to the domain.
- You or someone in your organization has permission to add a TXT record to your DNS records for the domain.
Adding Domains
You can add both subdomains and root domains to your KSAT console. To learn how to add either a subdomain or root domain to your KSAT console, select the links below:
Adding Subdomains
To add a subdomain to your KSAT console, follow the steps below:
- Log in to your KSAT console.
- Select your email address at the top-right corner of the page and select Account Settings.
- Navigate to Account Information > Organization Information.
- Select the Allowed Domains link. When you select this link, the Allowed Domains page will open.

- Select + New Allowed Domain at the top-right corner of the page.
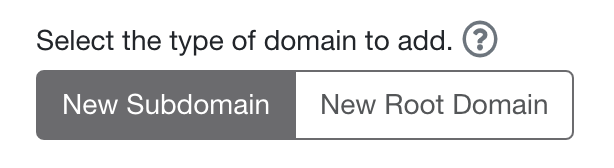
- The New Subdomain option is selected by default. This option indicates that you’re adding a subdomain at your root domain.
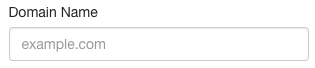
- Enter the subdomain in the Domain Name field. You must enter the subdomain followed by your root domain. For example, “subdomain.example.com”.
- Select Submit. Once you select Submit, the subdomain will be added to your KSAT console.

Adding Root Domains
To add a root domain to your KSAT console, follow the steps below:
- Log in to your KSAT console.
- Select your email address at the top-right corner of the page and select Account Settings.
- Navigate to Account Information > Organization Information.
- Select the Allowed Domains link. When you select this link, the Allowed Domains page will open.
- Select + New Allowed Domain at the top-right corner of the page.
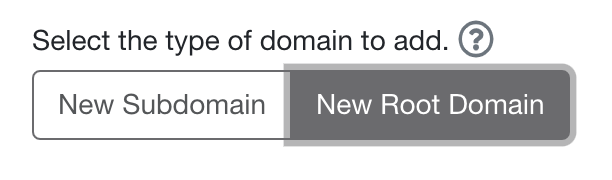
- Select the New Root Domain option.
- Enter the root domain in the Domain Name field. For example, “mydomain.com”.
- Copy the TXT record in the gray box in the middle of the page. Then, add this TXT record to your DNS records. This TXT record is unique for your KSAT console and can be used for any additional root domains that you add. For instructions on adding a TXT record to your DNS records, see our How to Add a TXT Record to Your DNS Records article.
Important:If you don’t have permission to add a TXT record to your organization’s DNS records, you will need to contact someone in your organization who can add the TXT record.
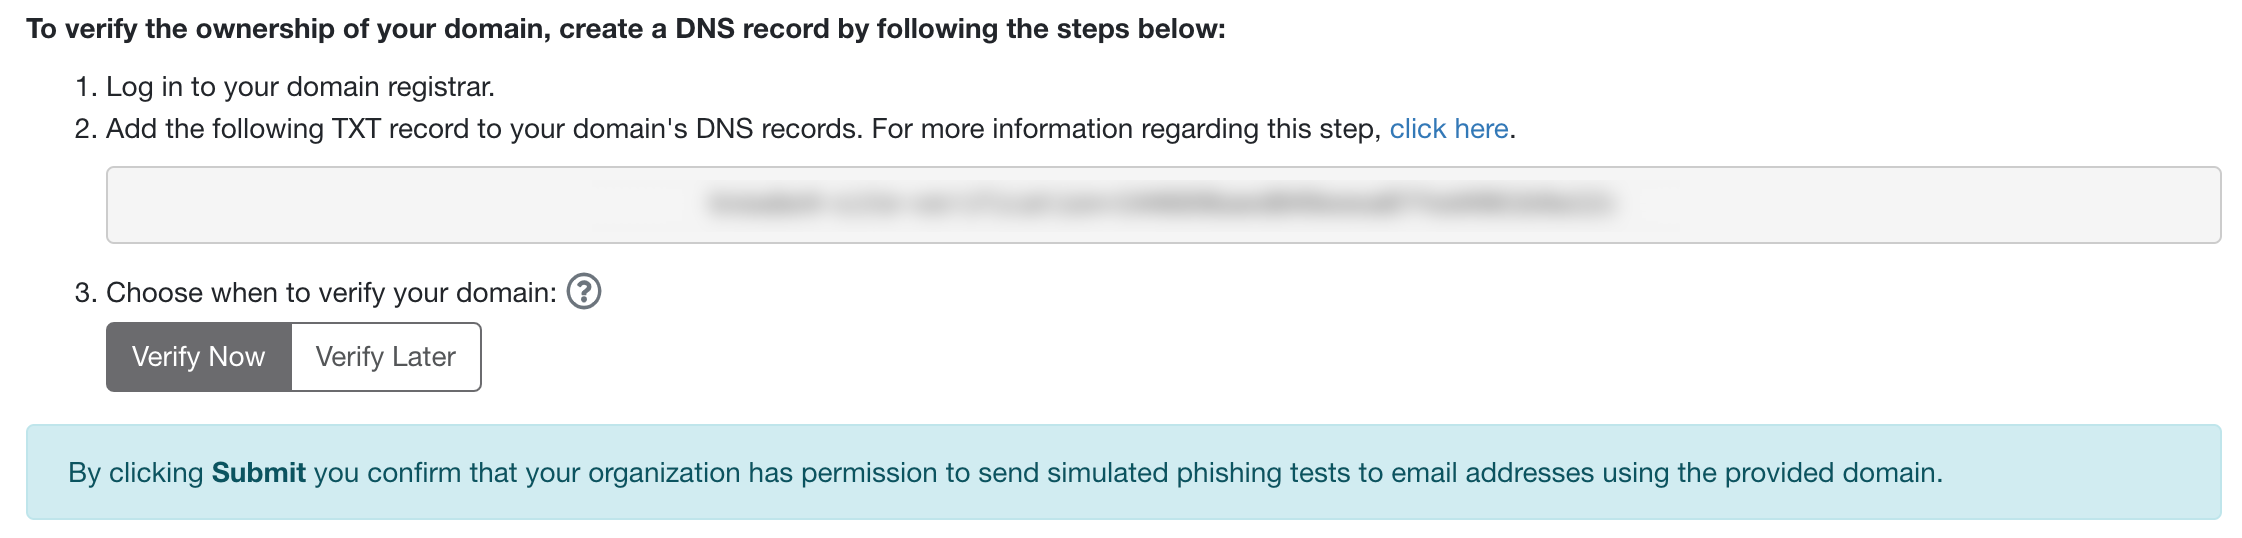
- After you add the TXT record to your DNS records, choose when to verify your domain. You can either select Verify Now or Verify Later.
- If you select Verify Now, KnowBe4 will attempt to confirm that you’ve added the TXT record as instructed. If KnowBe4 can confirm that you’ve added the TXT record, the new root domain will be added to your KSAT console. If KnowBe4 cannot confirm that you’ve added the TXT record, we recommend that you try again later. Your DNS record may need more time to update. You can also view the Troubleshooting section of this article.
- If you select Verify Later, the root domain will be added to the Allowed Domains page and will have a Pending Verification status. We recommend that you select this option if you’re unable to add the TXT record to your DNS records immediately. Once you’ve added the TXT record to your DNS records, you can return to the Allowed Domains page and select Verify Now.
- Select Submit.
Removing Domains
You can remove existing domains or pending domains from your KSAT console. To remove a domain from your account, follow the steps below:
- Log in to your KSAT console.
- Select your email address at the top-right corner of the page and select Account Settings.
- Navigate to Account Information > Organization Information.
- Select the Allowed Domains link. When you select this link, the Allowed Domains page will open.
- On this page, select the Delete link next to the domain that you would like to remove.

Troubleshooting
If you’ve followed the steps in the Adding Root Domains section of this article but your root domain is not added to your Allowed Domains page, we recommend trying the following troubleshooting methods:
- Verify that your TXT record entry is accurate and matches the TXT record on the Allowed Domains page. For more information, see step 8 in the Adding Root Domains section of this article.
- Contact your domain name registrar or domain host for specific instructions or assistance.
- Use a website such as MxToolbox to look up the TXT records for your domain. You can verify your TXT record on this website to ensure that you added the TXT record correctly.
-
Use a command prompt to manually verify that your TXT record was updated. See below for example command prompts:
-
Unix or Linux:
$ dig TXT examplehere.com -
Windows:
c:\> nslookup -type=TXT examplehere.com
If your updates were successful, the output of your command prompt entry should return the TXT record from the Allowed Domains page.
-
If you follow these troubleshooting methods but experience further issues, please contact our support team for assistance.