The below instructions detail how you can install Second Chance via Group Policy using a transform file. Before you get started, make sure you review the Prerequisites on our Second Chance Installation Guide. You need a SAT Advanced or Diamond-level subscription to access Second Chance.
When you are ready, follow the below instructions.
- Log in to your server as an admin.
- Create a shared folder on your domain.
- Right-click the folder and open Properties.
- Under the Security tab, add Domain Computers with "Read" permissions.
- Make sure you have "Write" permissions on the folder.
- Log in to your KnowBe4 account. Click the SECOND CHANCE tab towards the top of the screen and do the following:
- Download the Second Chance Training Device Installer (.exe file) to the shared folder you created in Step 2.
- Copy or write down your account-specific license key.
- If you already have Orca installed, move on to Step 5. If you don't already have Orca, you can download the Windows Installer SDK sample, tools, and documentation from Microsoft's website. Then, double-click the Orca.msi file beneath the \Microsoft SDK\bin folder.
-
Open the Orca editor. Click on "Transform", then "New Transform".

- On the File menu, click Open, and then select the Second Chance.exe file that you want to edit.
-
Under the column on the left, select "Property". Find the LICENSEKEY property and enter your Second Chance license key as the value.

-
Click on the "Transform" drop-down menu again, then click "Generate Transform".

- Name your .mst file and save it to the same shared folder you have the Second Chance .exe file stored.
- Next, we'll create a Group Policy. Open the Group Policy Management Tool (gpmc.msc).
- Open the Forest and Domains drop-down menu and then right-click your domain (Example: Domain.local or Domain.com).*Reminder: These instructions deploy to your whole domain--we recommend testing this GPO on a single test OU to see how it works.
- Click "Create a GPO in this domain, and Link it here...".
- Name your GPO (Example: Second Chance) and click "OK".
- Your new GPO will appear in the list. Right-click and select "Edit...".
-
Drop-down Computer Configuration -> Policies -> Software Settings -> Software. Installation, then right-click the right area of the screen and click "New Package".

- Find the .exe file and click "Open".
-
Change the Deploy software to "Advanced" and click "OK".

-
Click on the "Modifications" tab while within the Properties window.
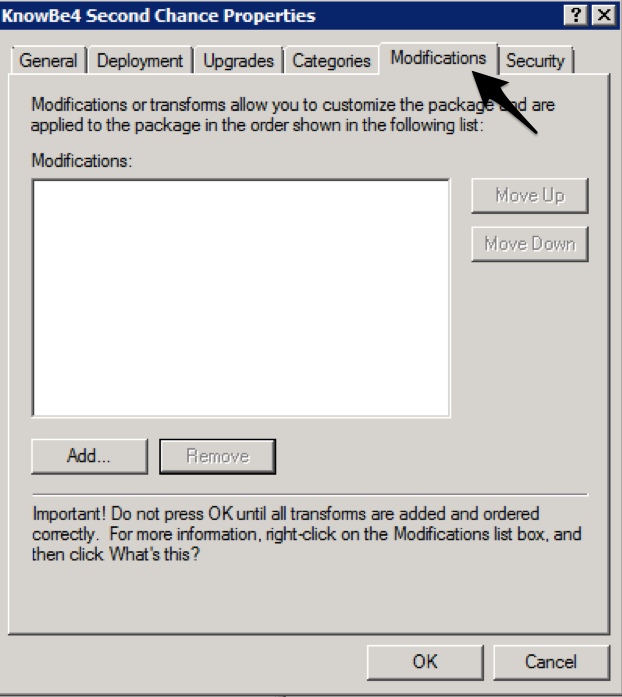
-
Click the "Add" button and add the .mst file you created.

- Click "OK".
- Close the Group Policy Management Editor.
- Under the Group Policy Management screen, right-click your new GPO and ensure there is a checkmark next to "Link Enabled". Your GPO should now be active.
Test Your Installation
Open a Second Chance-supported mail client on a client machine within your domain (or the single machine you installed Second Chance on, if still in the testing phase). Click a link within an email to make sure the install was successful and you're receiving Second Chance prompts. If you're not, check out our Troubleshooting tips at the bottom of our Second Chance Installation page.
User Experience
