From your Account Settings page, you have the option to change the return-path header for either phishing emails or training emails. Described below are the reasons why you would want to change the return-path header for each type of email.
Overwriting the Return-Path Header on Your Phishing Tests
The below steps will show you how to overwrite the return-path header on your KnowBe4 account. It is vital to do this if you're using a mail provider like Google Workspace (formerly G Suite), which will display "via KnowBe4" next to the sender address in your phishing tests if you do not.
Note:If you're unsure if you should overwrite your return-path header, contact our support team.
- Log in to your KnowBe4 admin account.
- Click your email address on the top-right of the screen, then click Account Settings.
- Navigate to the Phishing Settings section.
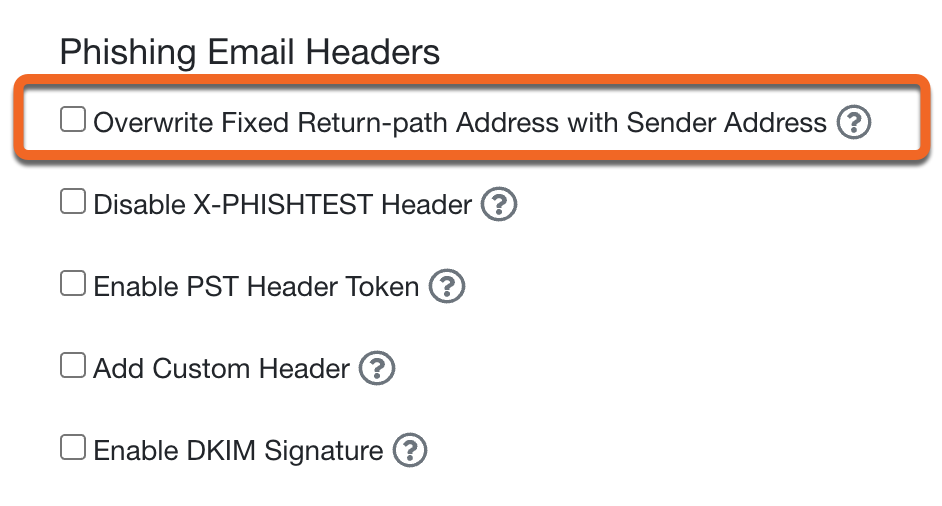
- Under the Phishing Email Headers subsection, click the checkbox next to Overwrite Fixed Return-path Address with Sender Address.
- Save your settings by clicking Save Changes at the bottom of the page.
Changing the Return-Path Header on Your Training Emails
The below steps will show you how to change the static return-path header for training emails on your KnowBe4 account. You will want to do this if you want to spoof your domain in training notifications.
- Log in to your KnowBe4 admin account.
- Click your email address on the top-right of the screen, then click Account Settings.
- Navigate to the Training Settings section.
- Under the Training Email Headers subsection, click the checkbox next to Overwrite Fixed Return-path Address with Sender Address.

- (Optional) Click the Add Custom Header checkbox to set a custom header name and header value.

- Save your settings by clicking Save Changes at the bottom of the page.